


All authors have access to the ClickLearn ContentCloud, and you can easily set up tracking on a shelf. That way you can get the analytics into the dashboard in the Cloud Portal.
In the Cloud Portal, you can create the Tracking ID in the tracking menu – click on the menu “Tracking”.

Simply click on the link “Add tracking”, give your Tracking ID a name and click “Save Changes”.
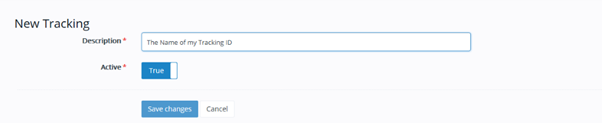
This will generate a unique Tracking ID which is ready to be copied into your shelf.
In the list of your Tracking ID’s you must click on the copy icon to copy the link.
Now open the shelf in the recording list and go to “Tools>Preferences” to edit the preferences of the shelf. Here you’ll need to go to the tab “Tracking” and paste in the Tracking ID.
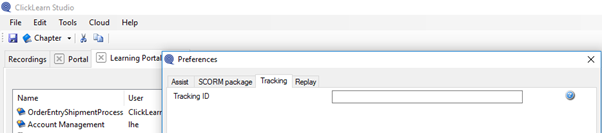
When the Tracking ID has been entered, you can confirm with the “OK” button.

The Tracking ID has now been set up and you can see the analytics in the “Dashboard”.
Make sure to have the tracking checked in the list in the “Dashboard.
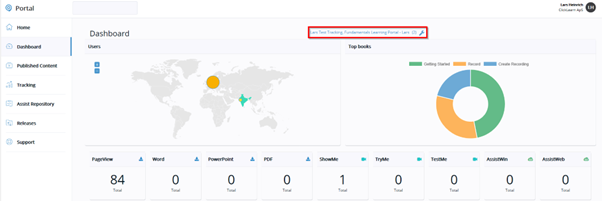
In the Dashboard you can see the information about who is using the ClickLearn content, which books they are looking into and what content types they are using. Besides that, ratings and comments are visible in the feedback area.
- You can choose to filter multiple tracking IDs, if you have more than one shelf published.
- You do not have to use the ClickLearn Content Cloud to host your content in order to use the tracking. But you will need to host it on a Web server for the tracking to work.
- Tracking is also available using an ODATA feed into excel, this way you can use PowerBi or a pivot table to present it.