Agenda: How to add your old recordings to ClickLearn Attain
4 steps
Time required: 10 minutes.
For Classic ClickLearn authors and administrators who want to bring their previous recordings into Attain, you will be pleased to know that it can be done in a few easy steps that consist of locating and opening from within Attain.
Before importing our old recordings, we need to be aware that one of the major introductions in Attain is the Structure options. Gone is the familiar hierarchy of Recordings, Books, and Shelfs, and instead, we have a more versatile structure that can be arranged using Sections and Recordings (and additional basic components).
Step 1: Locating ClickLearn Classic Files
First, you need to locate your .clrx recording files within Windows. If you store all your recordings in one location and already know its file path, you can skip directly to Step 2.
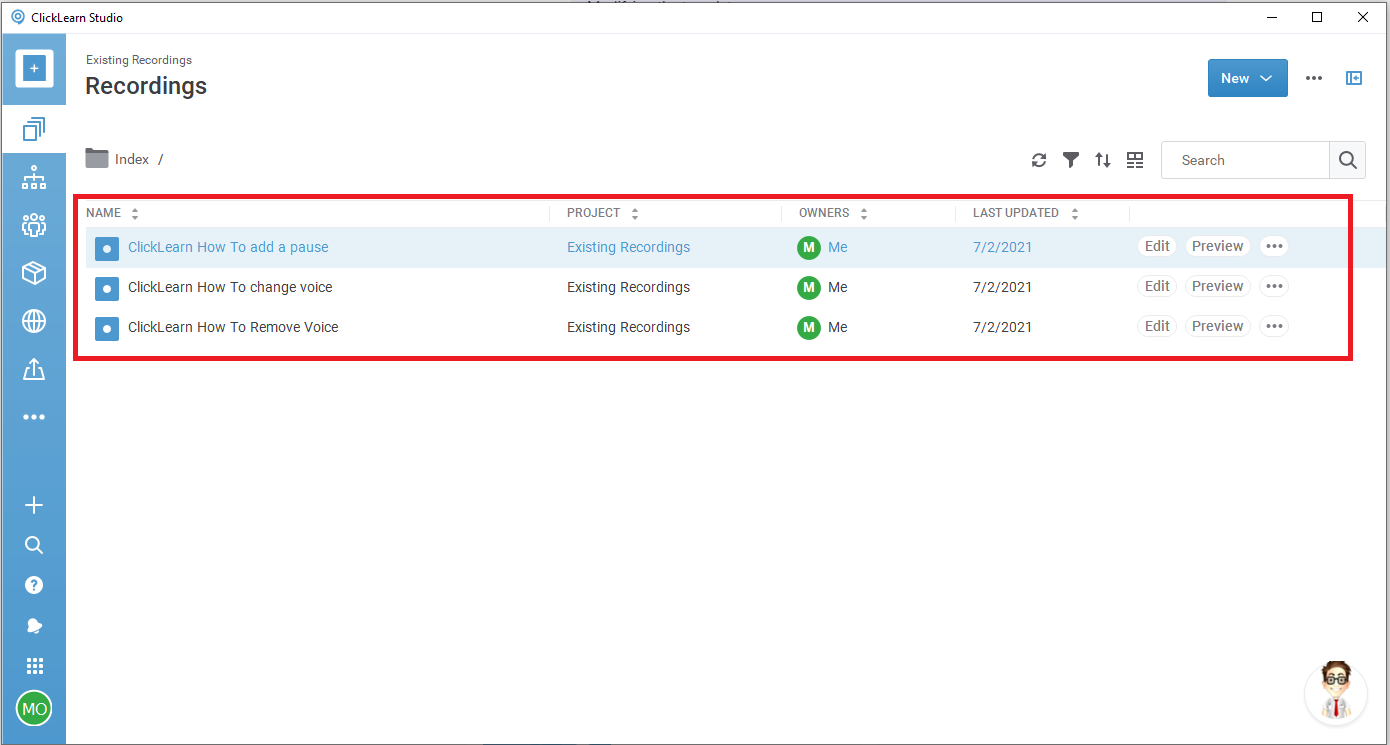
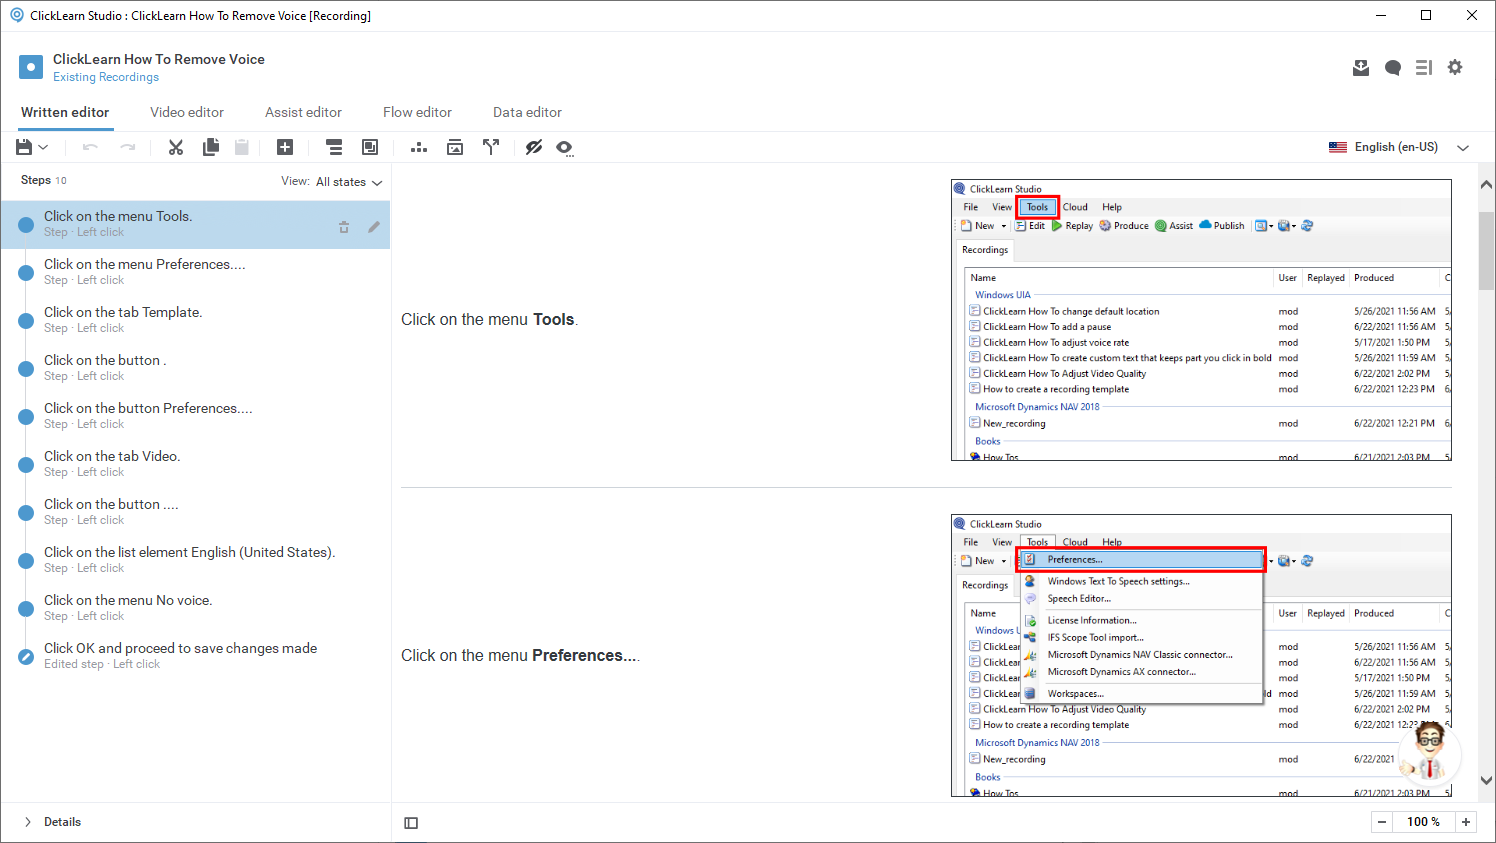
While there is no single way to locate your files, you can use ClickLearn Classic main window to see the file path of each of your desired recordings. It would be recommended to open the location in Windows and copy the .clrx files to a new location as you will need to close ClickLearn Classic (you cannot run two versions of ClickLearn at the same time) before going to Step 2.

Step 2: Rename Your Files
We recommend copying and pasting the .clrx recording files that you want to import into a different location as you might need to rename your recordings if they have long names. By design, ClickLearn Attain can only host files that have filenames of a maximum of 32 characters in length, so any files with longer names will not be imported and will produce an error message.
Rename your files before proceeding to Step 3.
Step 3: Creating a Placeholder to Import the Existing Recordings
To add them to ClickLearn Attain, you will first need to create a project. After all, in this new structure, the recordings need to be held somewhere.
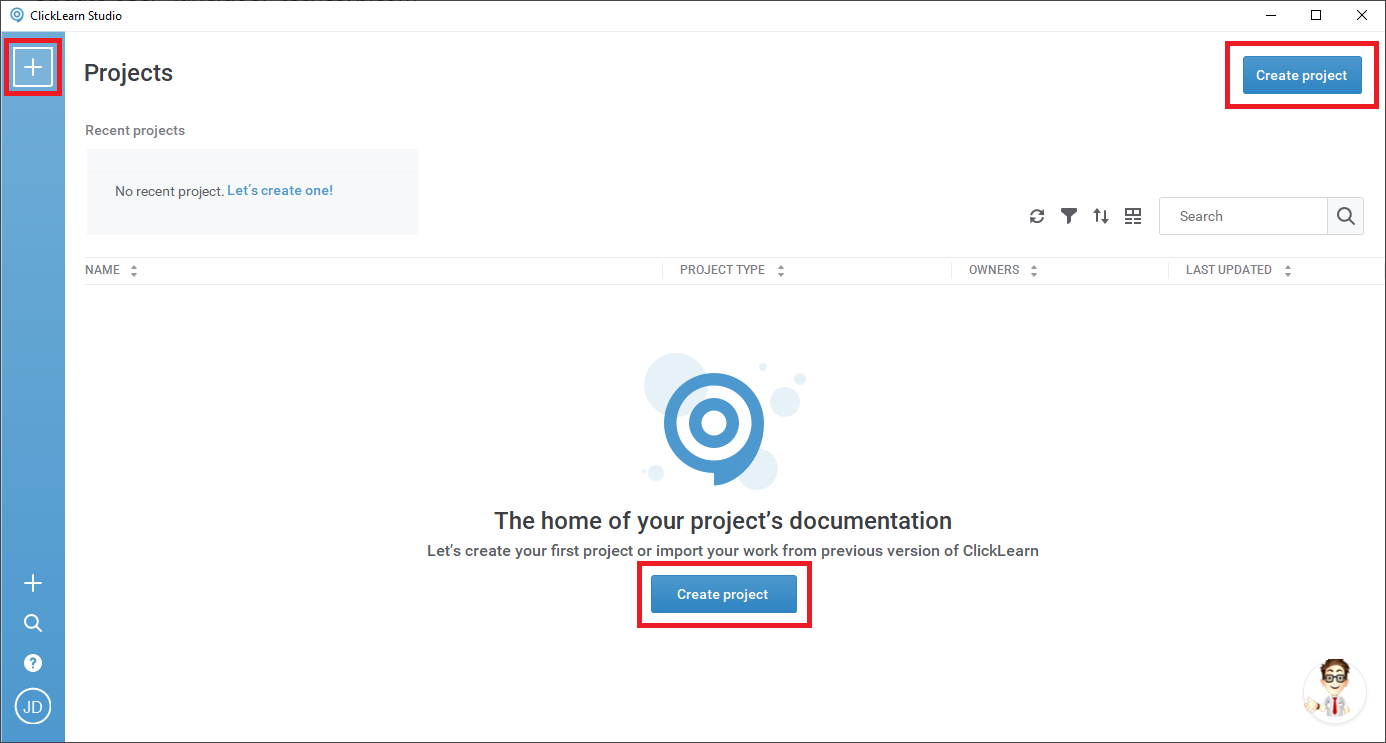
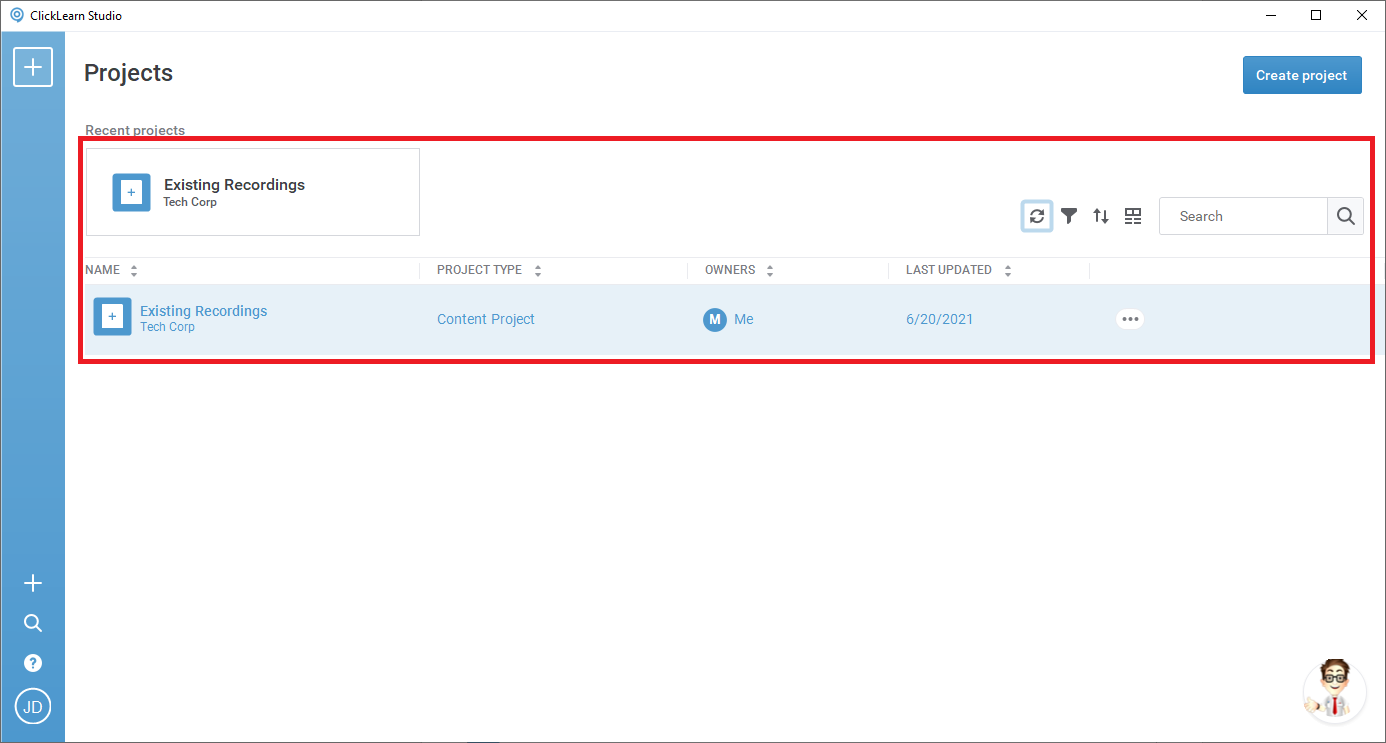
Open ClickLearn and click one of the three Create Project buttons to create a new project.
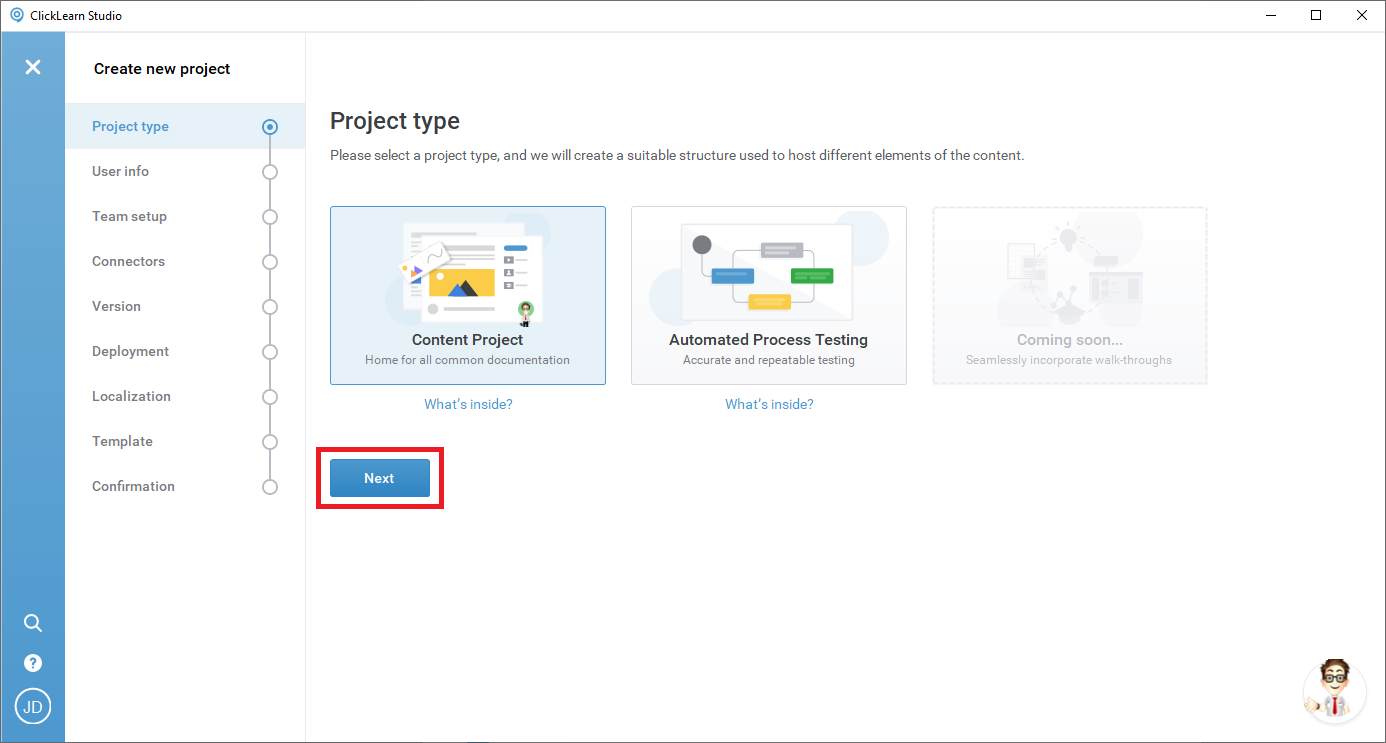
As our only current goal is to import the existing recordings, we can create a standard Content Project project.
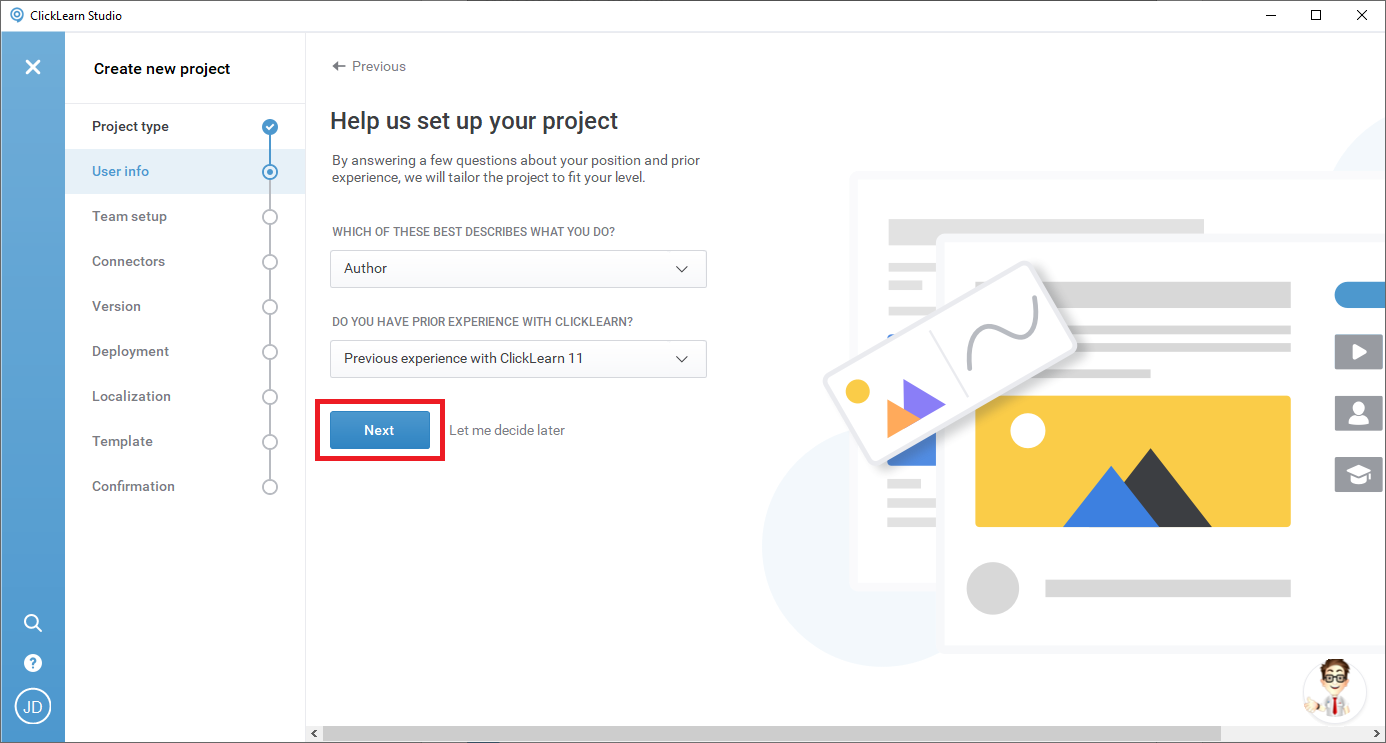
For now, just to get started, we are going to ignore most of the options that will appear, as we can always come back and customize them.
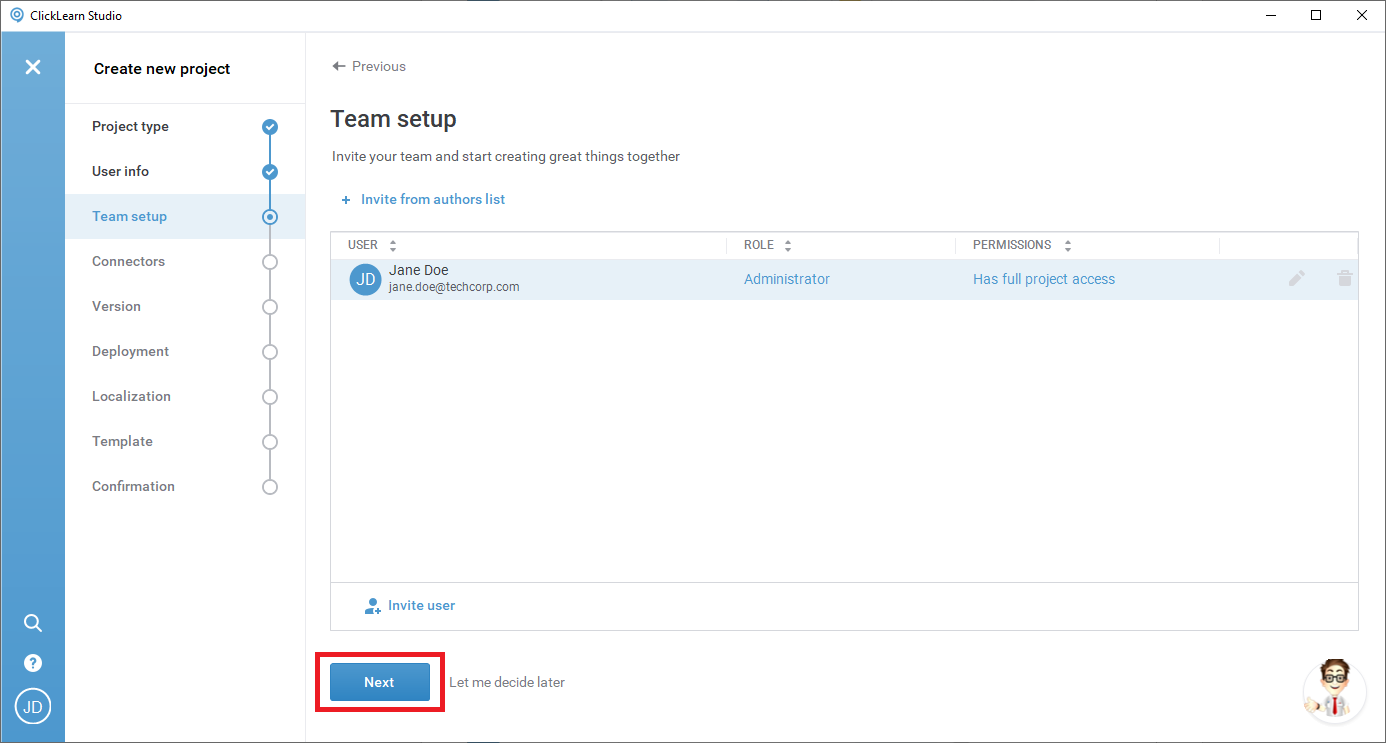
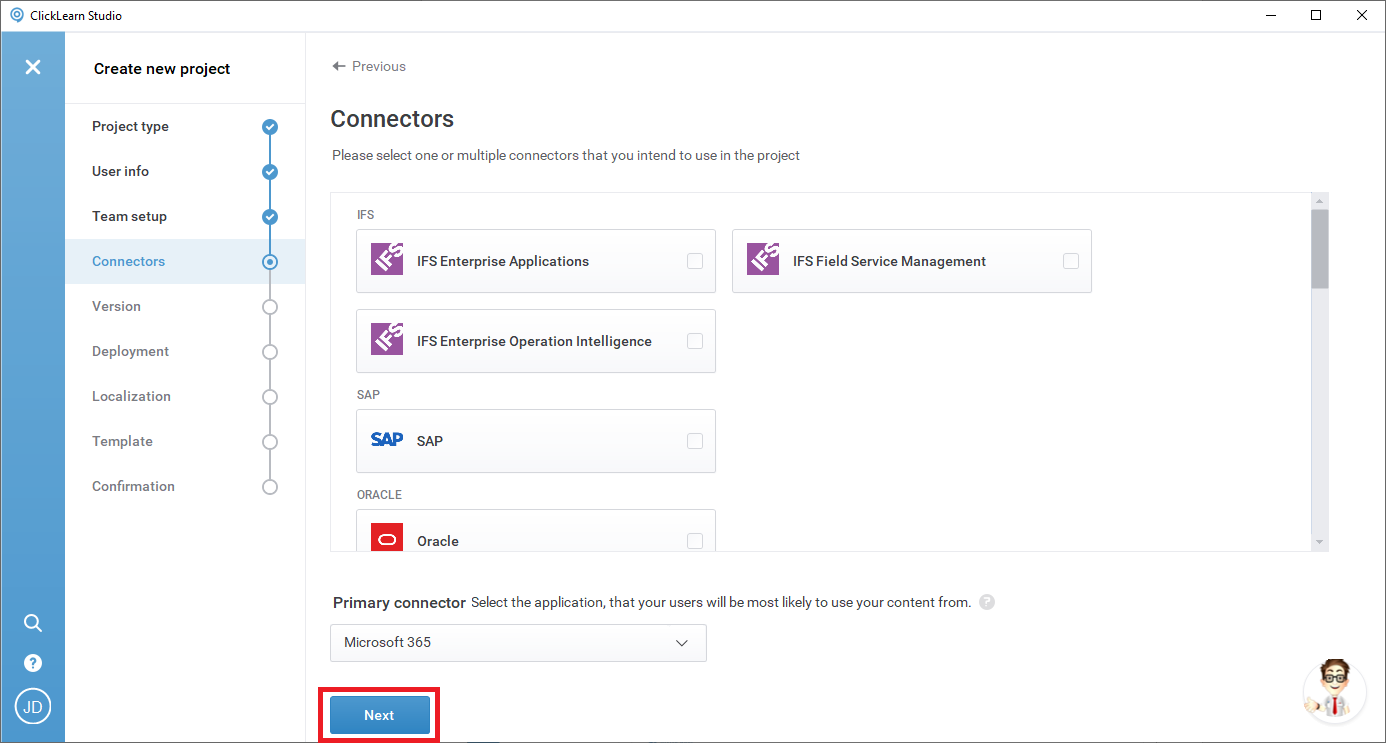
Follow the on-screen options clicking next as we go along. Some images have been omitted.
Choose the connector that was used in the previous version of ClickLearn
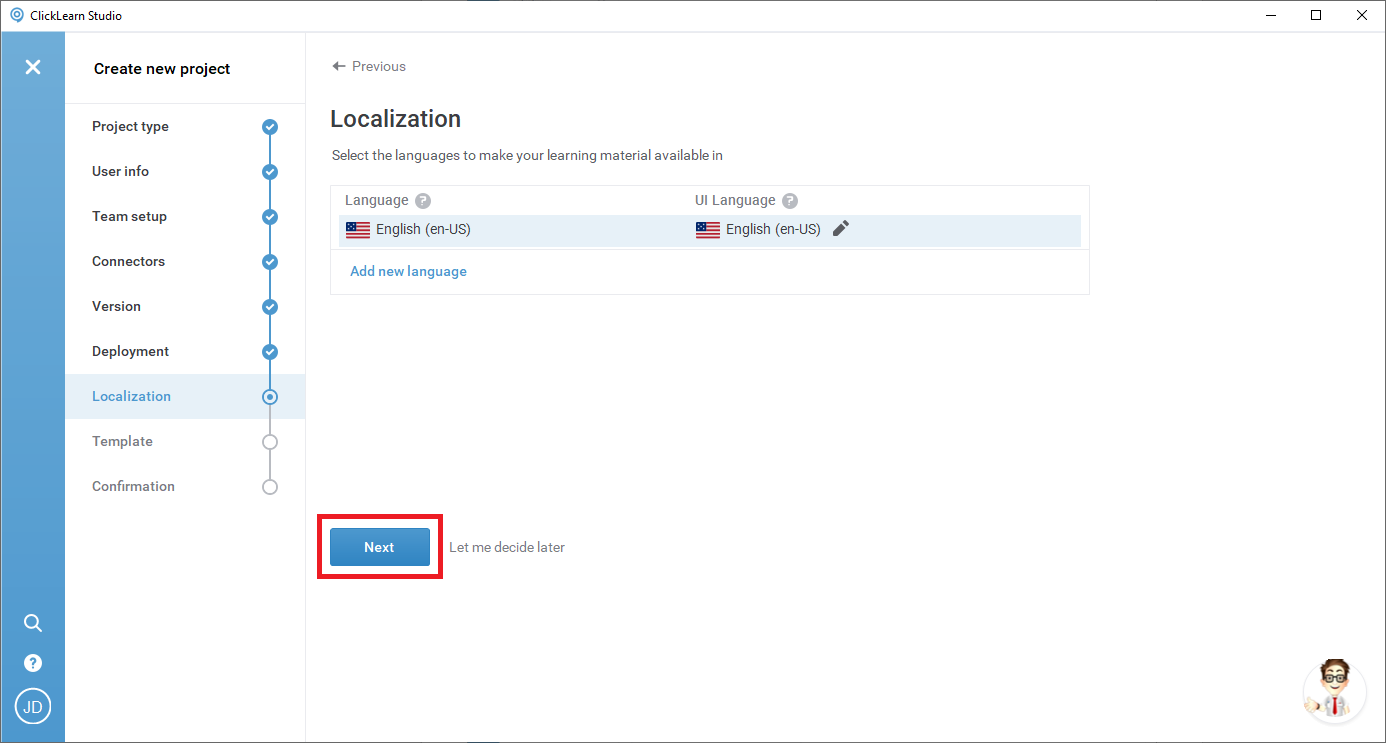
Select the language/s the recording was made in
Give the project a name
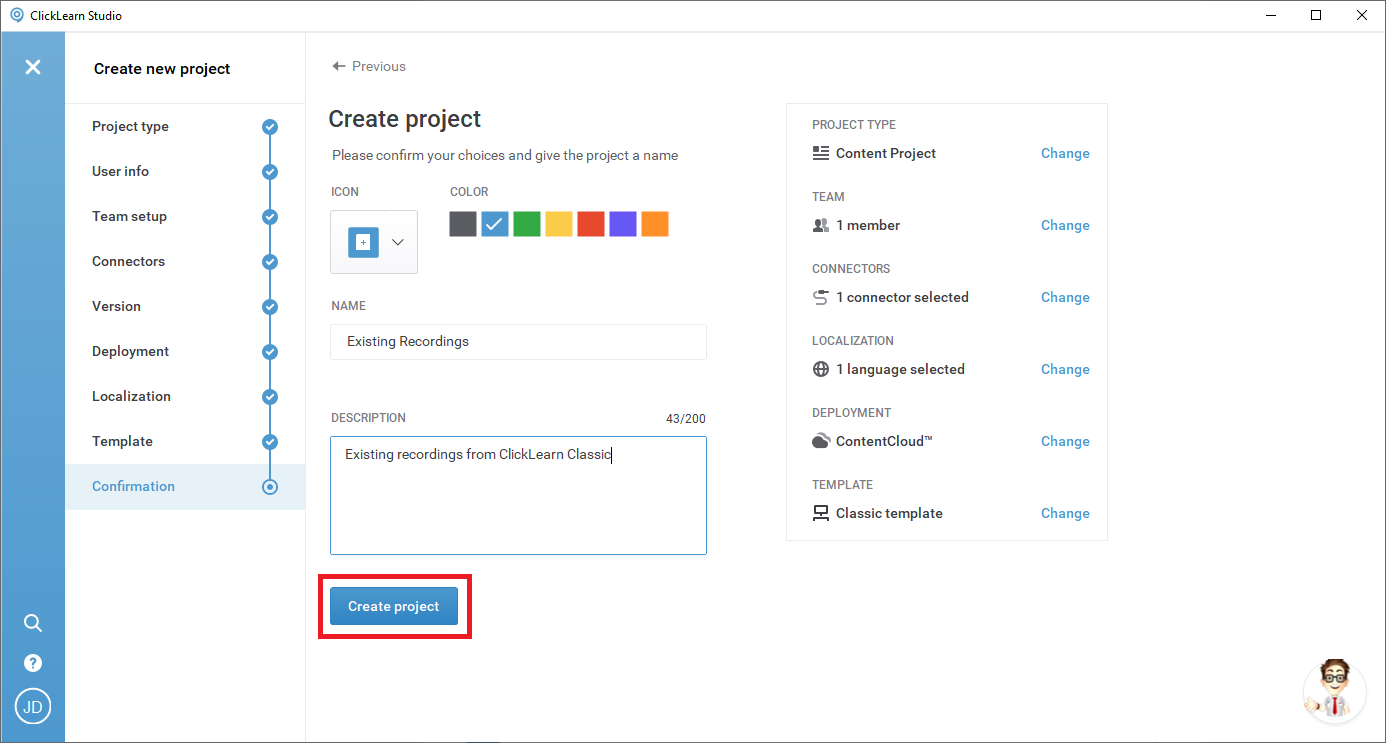
We now have our project.
Step 4: Importing the Recordings.
Now that we have our .clrx files and a project to store them in, we now want to add the recordings.
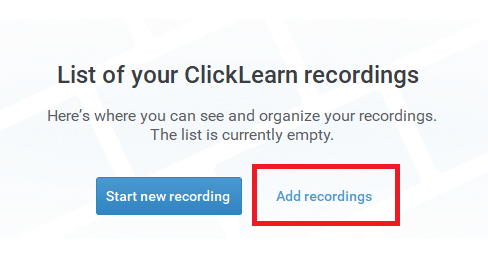
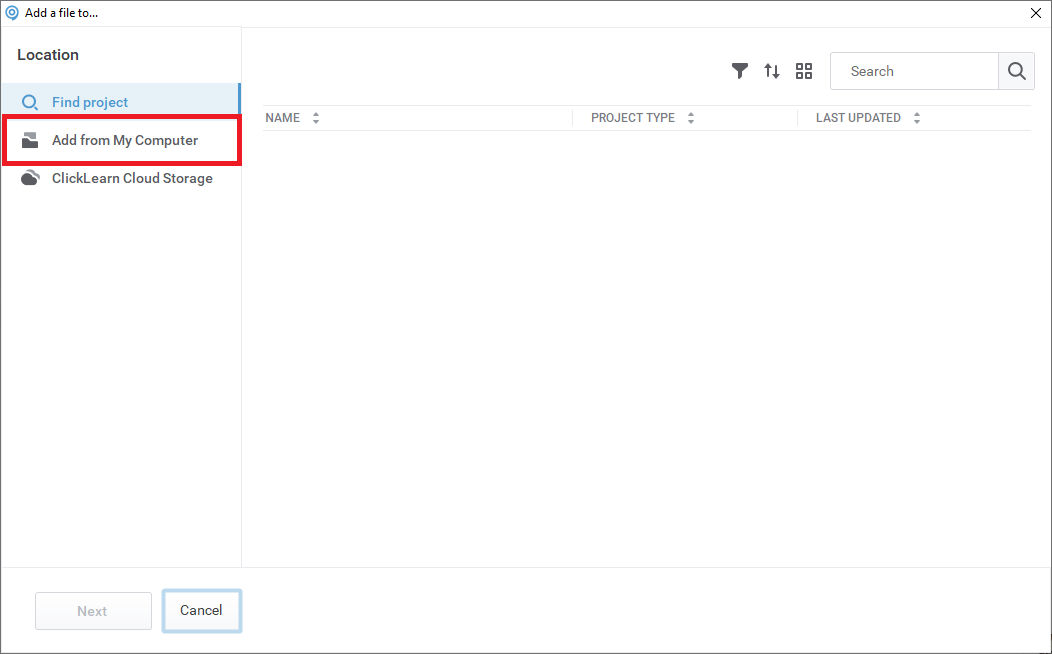
From the Add a file to... section, click Add from My Computer
Locate the files
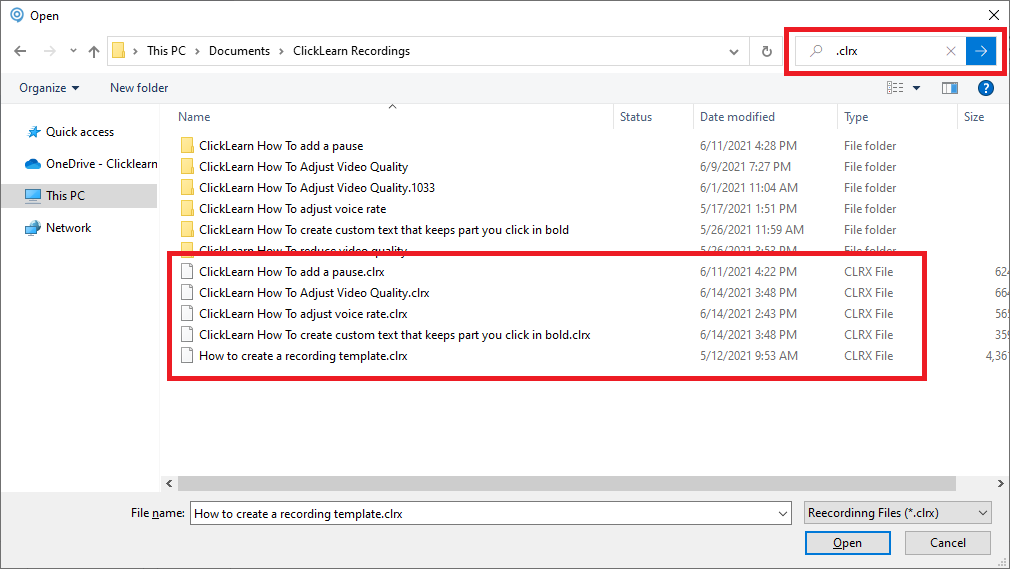
You can help filter the results by typing .clrx to only display the files you can add. You can select multiple files by dragging the mouse to select all of the files. Or by holding the control key and selecting the recordings that you want to add.
You can now view the imported recordings. You will receive an alert if any recordings cannot be imported due to having file names longer than the 32 or less required.
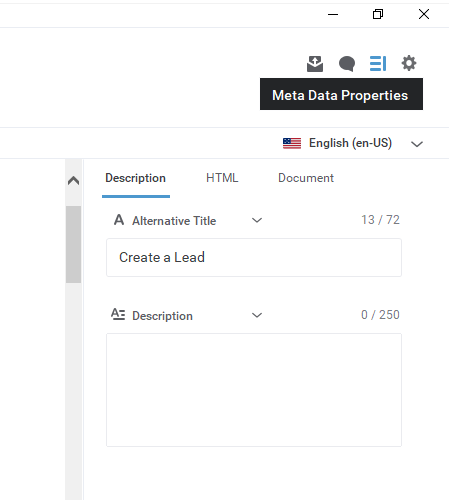
Once imported, we recommend thoroughly going through the recordings to make sure that all the content is displayed correctly.
It should also be noted that once you have imported the older recordings into attain, they will automatically get uploaded to your private ClickLearn cloud which you can access via your portal.
For a closer look at the steps, we recommend viewing our Community Live video which touches on more topics
In our next article, we will be capturing our first recording in Attain.