

Introduction
This guide shows you how to install and configure ClickLearn Attain on Windows and Mac. It covers everything from preparation and system requirements to installation, verification, and troubleshooting. Follow this guide step by step to avoid errors and complete setup efficiently.
Before You Start
Before installing, make sure you are ready. This section explains who should use the guide, how long setup takes, and what you need.
Who is this guide for?
-
Business users, trainers, and documentation authors who need to install ClickLearn Attain on Windows and publish their first content.
-
IT admins who prepare machines, install extensions, and enable sign-in.
Time Required to Install and Set up
-
Installing Attain Studio and browser components usually takes 10–15 minutes.
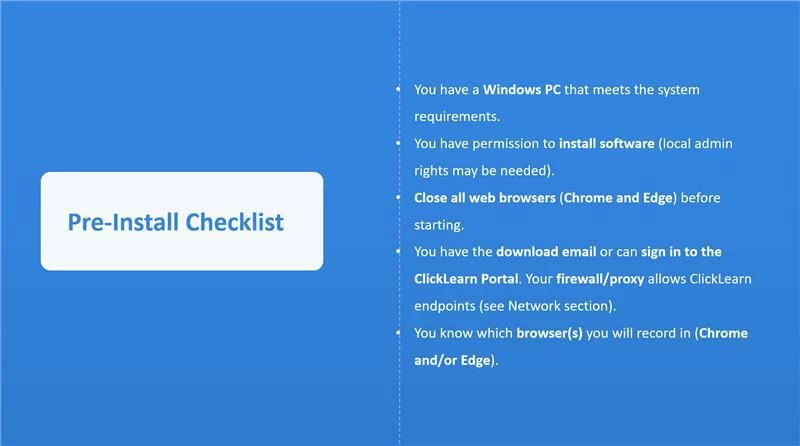
Pre‑Install Checklist
Make sure the following items are complete before you start:
-
You have a Windows PC that meets the system requirements.
-
You can install software on your PC (local admin rights may be required by your company policy).
-
Close all web browsers (Chrome and Edge) before starting.
-
You have received the ClickLearn Attain download email or you can sign in to the ClickLearn Portal.
-
Your firewall/proxy can allow ClickLearn endpoints (see Network section).
-
You know which browser(s) you will record in (Chrome and/or Edge).
System Requirements and Prerequisites
Operating system: -
-
Supported: Windows 7 or later.
Note: ClickLearn Attain supports Windows 7 or later, excluding Windows 8.0.
-
Not supported: Windows 8.0
Dependent Softwares
-
Microsoft .NET Framework 4.8 or later
-
Microsoft Edge installed
Hardware
-
Storage: Minimum 10 GB free HDD/SSD
-
CPU: Minimum dual‑core (4‑core recommended)
-
Input: Mouse and keyboard
RAM Requirement
-
Minimum 16 GB
Display Settings (Recommended)
-
Choose one primary monitor for recording.
-
Use the same resolution and scale as your teammates if co-authoring.
Network
-
Your firewall/proxy must allow ClickLearn services.
Important:
-
Whitelist the regional URLs that match where your ClickLearn application is hosted.
-
Some URLs include your organization name (replace [ORG NAME] with your actual organization name).
-
If you do not know the list for your region, ask your IT team or ClickLearn Support for the current endpoint list.
For Mac Users: -
-
ClickLearn is a Windows‑native application. Use a Windows virtual machine (VM) on your Mac.
Recommended Mac specifications
-
Processor: Intel or Apple Silicon with 8+ cores
-
Memory (RAM): 24 GB (minimum 16 GB)
-
Storage: 256 GB SSD with 100 GB+ available
Virtual Machine Allocation
-
CPU: 4–6 cores
-
RAM: 16 GB
-
Storage: 100 GB+ total
- This covers Windows (about 20–30 GB), ClickLearn, Microsoft Office, cache, and project files.
Virtualization Software
-
Parallels Desktop (recommended; best performance on Apple Silicon) – paid
-
VMware Fusion – paid/free for personal use
-
UTM – free, open source
-
VirtualBox – free, Intel Macs only
Windows Licensing
-
Use a valid Windows 10 Pro or Windows 11 Pro license (retail or volume).
Setup Steps on Mac
-
Install your chosen virtualization software.
-
Create a new Windows 10/11 VM with the resources listed above.
-
Install Windows and activate it with your license key.
-
Install ClickLearn and any applications you plan to document.
-
Activate your ClickLearn license.
Performance Tips
-
Close unnecessary Mac apps while the VM is running.
-
Enable hardware acceleration in the VM settings.
-
Store project files on the VM’s virtual disk.
-
If performance is slow, allocate more RAM or CPU to the VM.
-
For Apple Silicon (M‑series), ensure your virtualization software supports ARM‑based Windows or can run x86 Windows with acceptable performance.
Read More: - Minimum requirements for using Attain
Installation and Configuration
-
How to Install ClickLearn Attain?
Install ClickLearn Attain via the email link (ClickOnce).
Use this if you received an email from ClickLearn Support with a download link. ClickOnce auto‑updates to the latest version.
-
Close all open browsers (Chrome and Edge).
-
Open the email from ClickLearn Support and select Download ClickLearn Attain.
-
Follow the on‑screen prompts to complete the ClickOnce installation.
-
After installation, open ClickLearn Studio from the Start menu.
Read More: - Installation and Configuration
-
How to Install the latest Attain Studio (MSI)?
Install the latest Attain Studio via MSI Use this if you manage versions manually or your IT policy prefers MSI packages.
-
Sign in to the ClickLearn Portal.
-
Enter your email address and select Next.
-
Enter your password and select Login.
-
Go to Releases > Attain MSI.
-
Select the version you want to download (for example, 12.1.40.0) and download the MSI.
-
If the package is not yet prepared, the system will prepare it and notify you. You can then download it from portal notifications.
-
Uninstall any older version of ClickLearn Studio.
-
Windows Settings > Apps
-
Search for ClickLearn Studio
-
Select Uninstall
-
Install the new MSI.
-
Open File Explorer and go to your downloads folder.
-
Double‑click the MSI to start the installer.
-
Review and accept the license agreement.
-
Select Install and finish the wizard.
-
Open ClickLearn Studio from the Start menu.
Install the Browser Communication Bridge (Native Messaging Host)
This bridge enables communication between ClickLearn Attain and your browser extensions.
-
In ClickLearn Studio, open the Help or Get Help section.
-
Select Install Native Messaging Host.
-
When prompted, select Next and follow the on‑screen steps.
-
Select Open when asked to continue.
-
Chrome and Edge will open and prompt you to install the ClickLearn Connector extensions (see the next section).
-
After installing the extensions, the Native Messaging Host installation is complete.
What Extensions Are Needed?
You must install the ClickLearn Connector in each browser you will use for recording.
Follow these steps for Chrome and Edge.
Chrome
-
Open Chrome → Settings → System.
-
Disable: Continue running background apps when Google Chrome is closed.
-
Open the Chrome Web Store.
-
Search for ClickLearn Chrome Connector → Add to Chrome.
-
Confirm installation → Verify under Extensions.
Edge
-
Open Edge → Settings → System and performance.
-
Disable: Startup Boost & Continue running background apps when Microsoft Edge is closed.
-
Go to Microsoft Edge Add-ons.
-
Search for ClickLearn Connector → Get → Add extension.
-
Confirm installation → Verify under Extensions.
Tip: Install connectors in every browser you plan to record in.
Learn More: - Installing Extension for Browser
Optional:
Set up sign‑in with Microsoft 365 (Azure AD SSO)
Enable this if your organization wants users to sign in with Office 365 credentials.
-
Contact ClickLearn Support to enable Office login for your company and request the admin consent link.
-
Send the link to your Azure AD administrator.
-
The Azure AD admin selects Accept on the consent screen to approve access to user profile data (name, email, organization). This is required for SSO.
-
Consent is granted by an administrator and cannot be granted by individual users.
- ClickLearn will create enterprise apps: -
ClickLearn Portal (for portal and studio access)
-
ClickLearn Portal‑Api (for content access)
-
After approval, enter your CNAME in the sign‑in prompt and select Sign in with Office 365.
Post‑Install Verification Checklist
-
Sign in to ClickLearn Studio successfully (with your ClickLearn credentials or Microsoft 365, if enabled).
-
Confirm the browser extension is installed and enabled in Chrome/Edge.
-
Start the recorder from ClickLearn Studio (for example, create a short recording in your browser or a Windows app).
-
Playback the recording successfully.
-
Publish content successfully (for example, publish a sample to confirm connectivity and permissions).
Troubleshooting
Installation fails or requires admin rights
-
Symptom: You cannot install the MSI or extensions.
-
Fix: Ask your IT administrator to install the MSI and browser extensions or to grant you local admin rights.
Extensions not detected or recorder cannot connect to the browser
-
Symptom: Studio does not communicate with Chrome/Edge.
- Fix:
- Make sure the ClickLearn Connector is installed and enabled in each browser.
- Install the Native Messaging Host from Help > Install Native Messaging Host.
- Close and reopen the browser after installation.
- Turn off background processes (Chrome System setting; Edge System and performance settings).
- Ensure Microsoft Edge is installed on your machine.
. NET Framework missing
-
Symptom: Installer requests .NET 4.8 or later.
-
Fix: Install Microsoft .NET Framework 4.8 or later, then restart the installer.
Windows version not supported
-
Symptom: You are using Windows 8.0.
-
Fix: Upgrade to a supported version. ClickLearn Attain supports Windows 7 or later, excluding Windows 8.0.
Network or proxy blocks services
-
Symptom: Sign‑in, publishing, or updates fail; portal cannot be reached.
-
Fix: Ask IT to allow ClickLearn endpoints for your region. Some URLs include your organization name (replace [ORG NAME] with your actual name). If the list is unknown, request the current endpoint list from IT or ClickLearn Support.
SSO (Microsoft 365) sign‑in fails
-
Symptom: Users cannot sign in with Microsoft 365.
-
Fix:
- Confirm Azure AD admin consent is granted for your tenant.
- Verify the correct CNAME is used during sign‑in.
- Confirm the “ClickLearn Portal” and “ClickLearn Portal‑Api” enterprise apps exist.
Mac performance is slow in VM
-
Symptom: Lagging while recording or publishing.
-
Fix:
- Close other Mac apps.
- Increase VM RAM/CPU.
- Enable hardware acceleration in VM settings.
- Use Parallels on Apple Silicon for best performance.
- Store projects inside the VM’s virtual disk.
Upgrading to the latest version (MSI)
-
Symptom: You need new features or bug fixes.
-
Fix:
- In Studio, select your profile avatar > Check for updates to see your current version.
- If using MSI, download the latest MSI from Portal > Releases > Attain MSI, uninstall the old version, then install the new one.
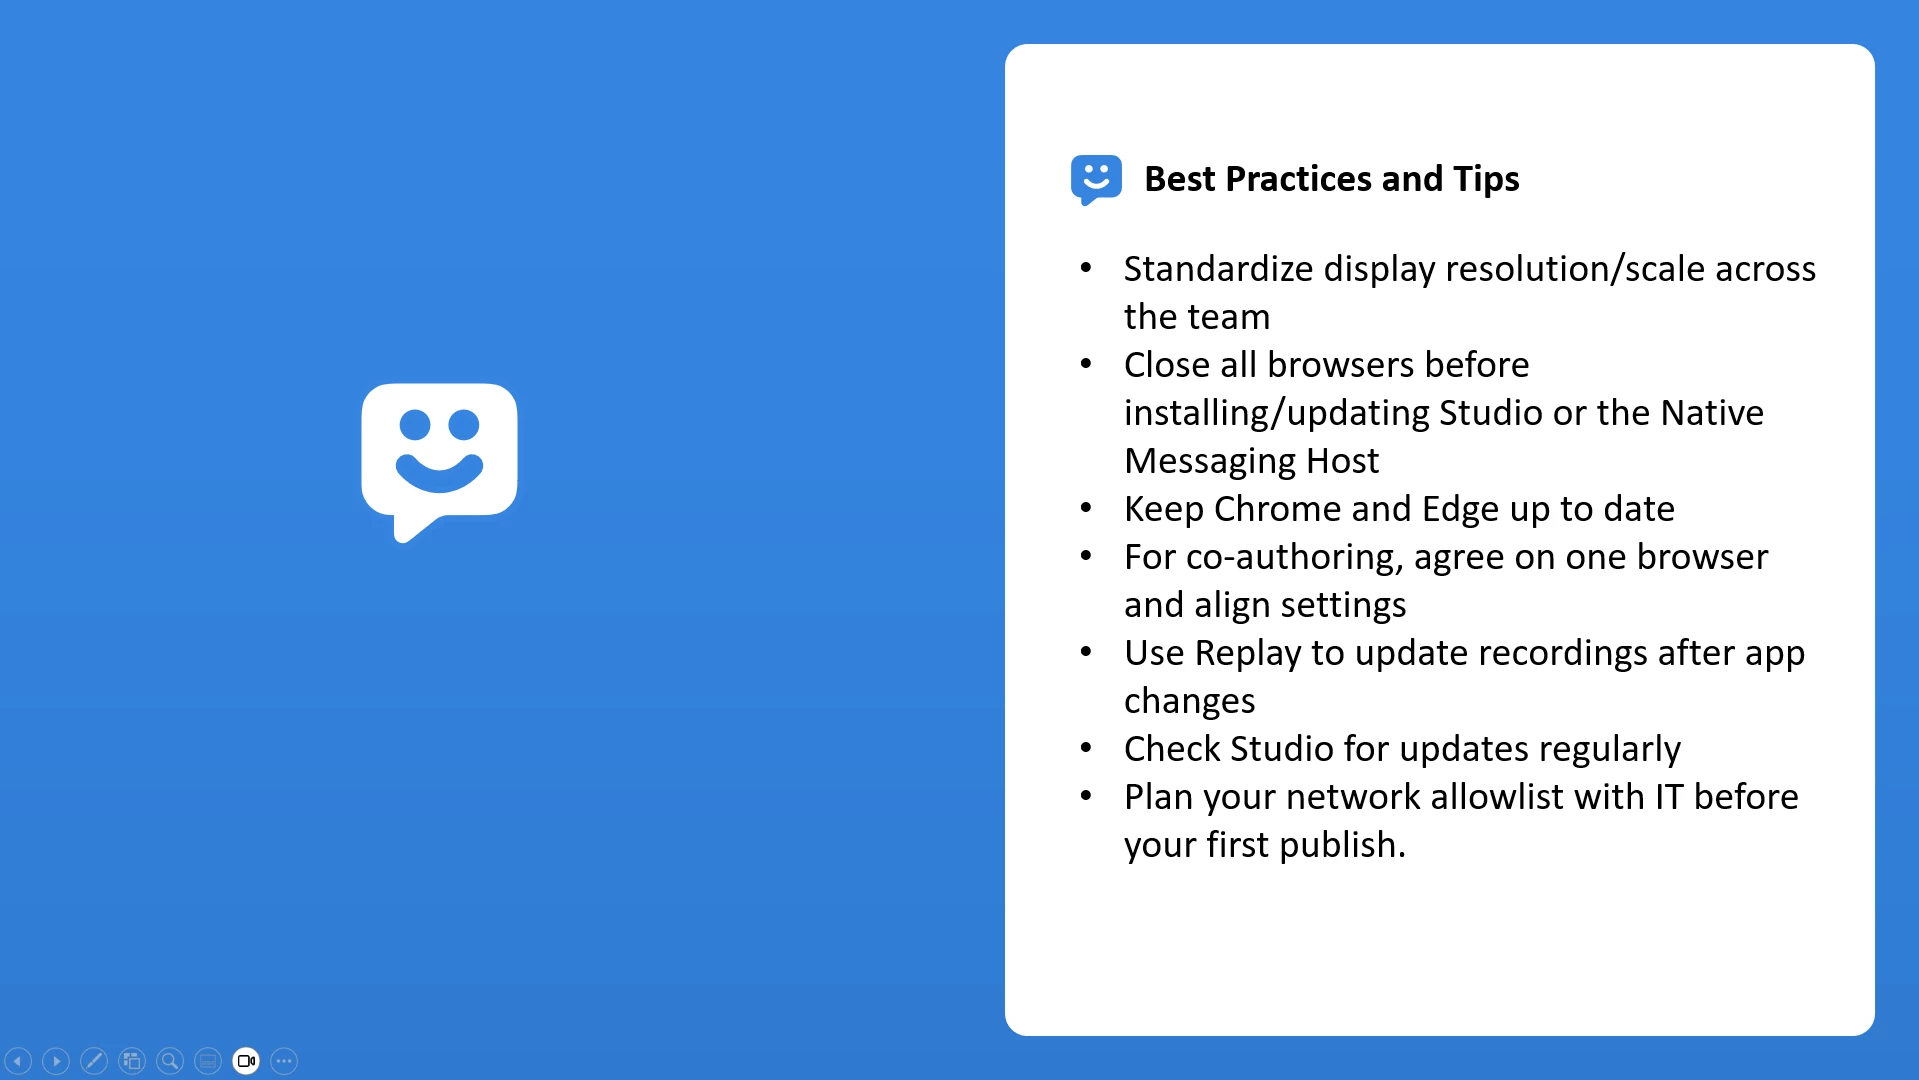
Best Practices and Tips
-
Keep your team on a standard display resolution and scale to ensure consistent recordings.
-
Close all browsers before installing or updating Studio or the Native Messaging Host.
-
Keep Chrome and Edge up to date to maintain extension compatibility.
-
If you co‑author, agree on which browser to record in and align settings.
-
Use the Replay feature to update recordings when your application changes, instead of recreating content from scratch.
-
Regularly check for updates in Studio to benefit from improvements and fixes.
-
Plan your network allowlist with IT before your first publish to avoid delays.
Read More: - Best Practices
Conclusion
With the right preparation and a clear sequence verifying system requirements, installing Studio, enabling the browser bridge and extensions, and completing a quick post‑install test, you can be ready to record. Keep this guide handy for IT preparation, first‑time setup, and future updates, and share the best practices across your team to maintain consistency and performance.