


In this guide, we will demonstrate how to make a simple recording. This guide is intended for authors who are new to ClickLearn.
Before we get started, please make sure that you are familiar with setting up your Windows environment for a recording. You can find a guide here.
Also, always use a mouse. Using a trackpad can result in uncaptured steps.
We have already created a project, so now you are ready for your first recording.
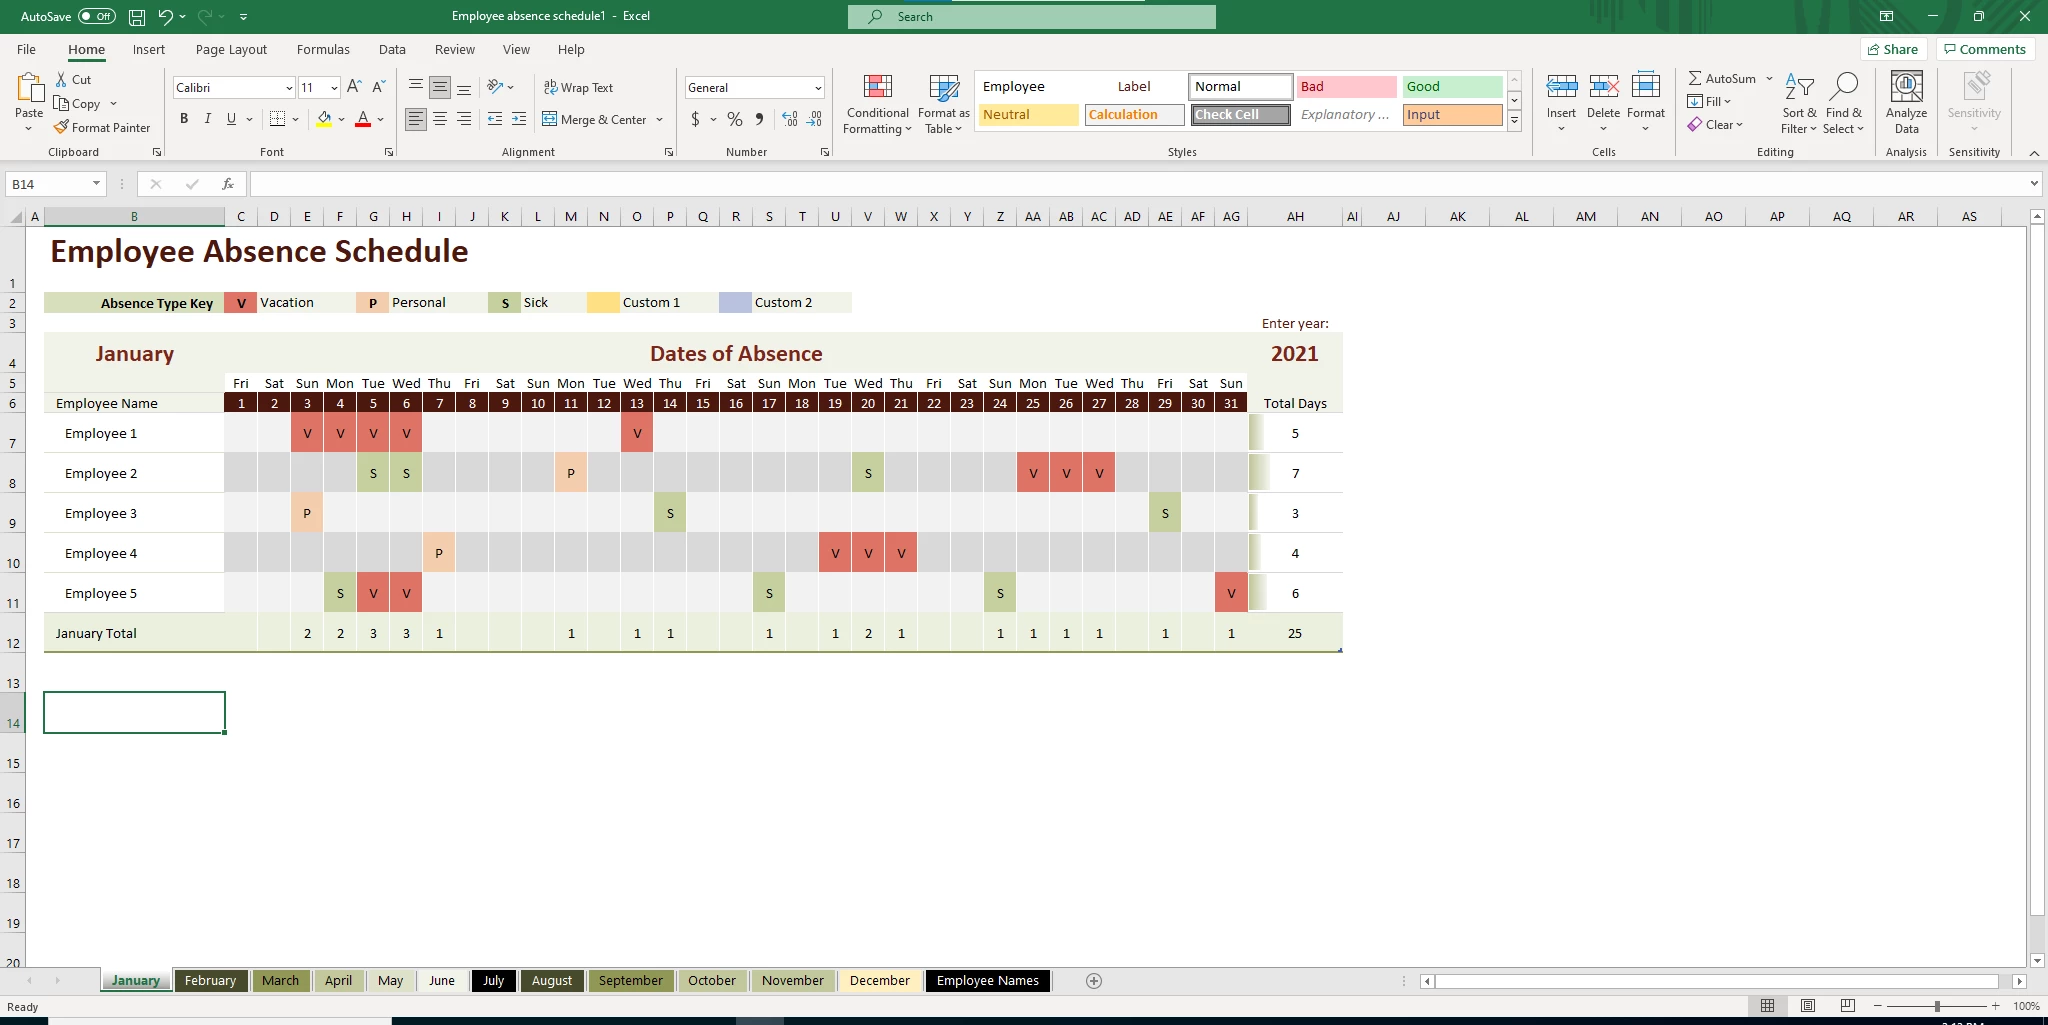
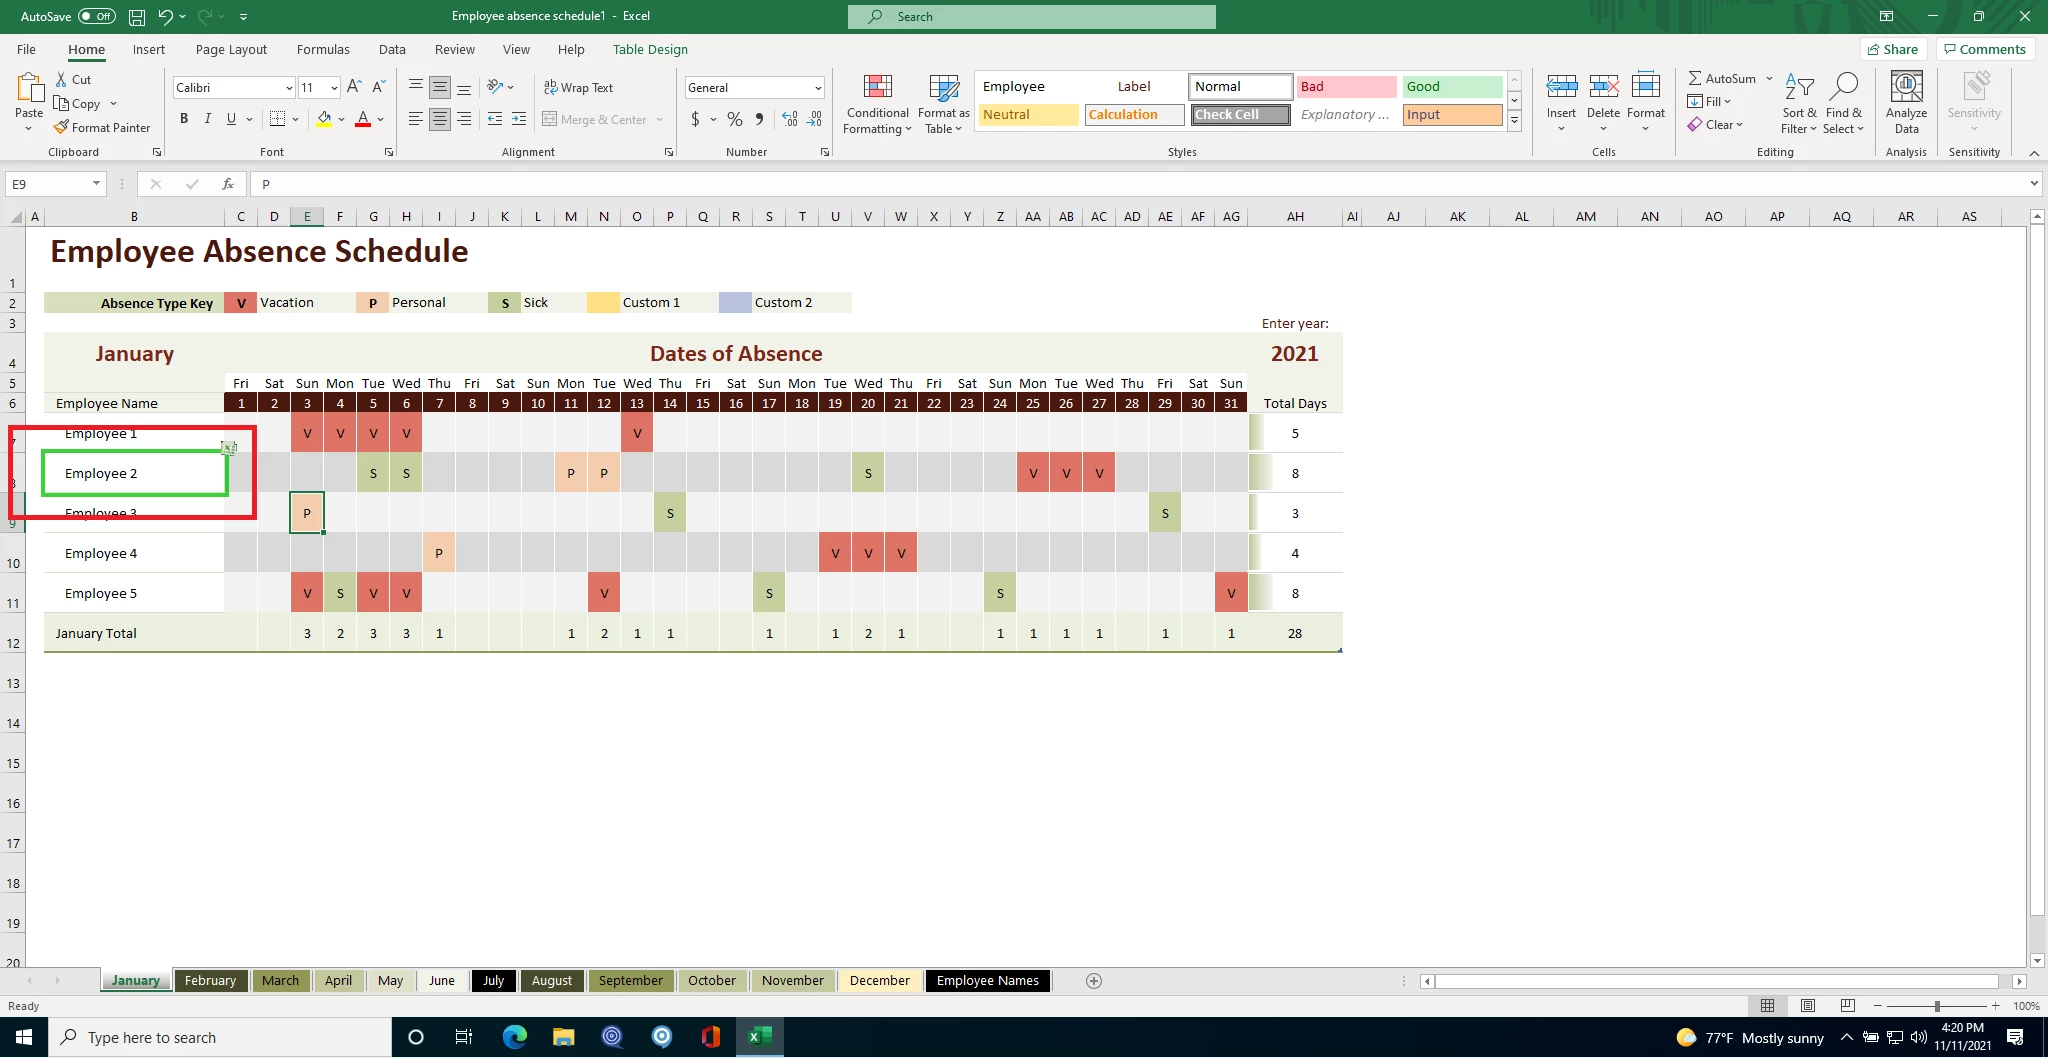
First, get the environment that you will be recording ready. In this demonstration, we will be using Excel.
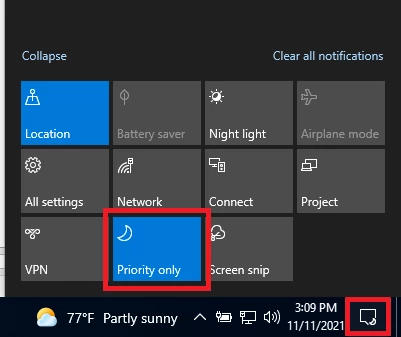
For best practices, we recommend closing everything apart from the application or web app. We also recommend turning focus assist on to avoid any interruptions.
Once ready, return to your ClickLearn window and click Start new recording.

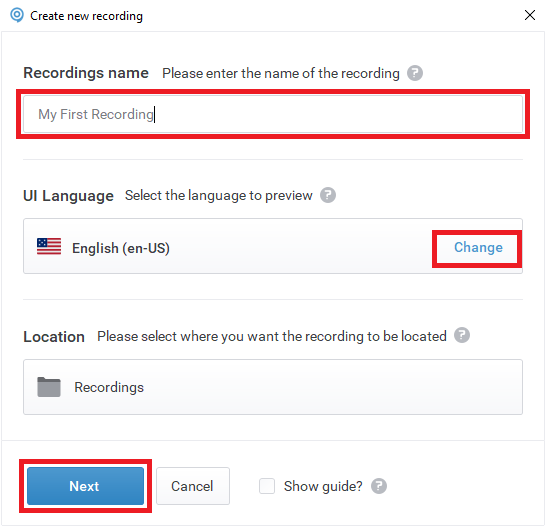
A pop-up will ask for the name of the recording. Enter a name, and select the UI language. Note that this is very important as ClickLearn will need the exact language to create the correct output. If unsure, check with the administrator of the system.
Once ready, click Next and Start recording and wait for the sidebar to appear.
Once the sidebar appears, you will observe that you have a few options.
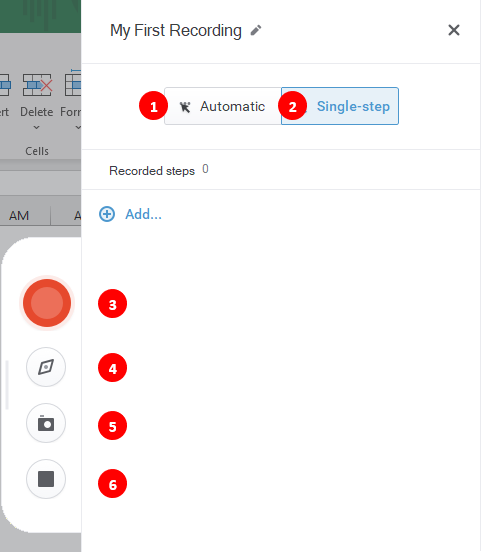
- Automatic
- Single-step
- Record button
- Pause recording
- Take a screenshot – this can be used to create an annotated screenshot.
- Stop recording
Single-step will record only one click and then interrupt the process. If you wish to capture an additional step using this method, you can resume recording by clicking the record button again, but note that it will be interrupted again.
Selecting Automatic will allow you to record without interruption until you make the recorder stop by making the recording side pane appear again.
For now, we are going to use Automatic. Select Automatic, then click the Record button to begin.
If you are using multiple screens, ClickLearn will grey out the inactive screen.
Move the mouse (but don’t click!) over a section that you want to capture and wait for the green rectangle. If it does not immediately appear, move your cursor slowly over a few areas of the system that contains buttons/links or fields.
If a green rectangle does not appear or only appears around the entire window, please contact ClickLearn support.
ClickLearn will now capture what you click and type. Please keep in mind that ClickLearn does not support the use of the Tab key to navigate.
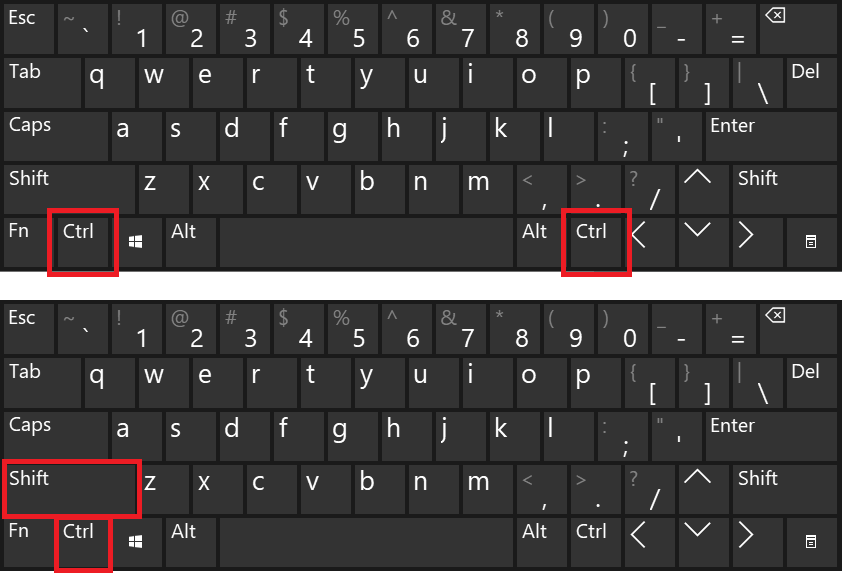
When you have finished recording, press both of your control keys. For keyboards that do not have two control keys, hold down the left Ctrl and left Shift keys and move your cursor to the top left corner.
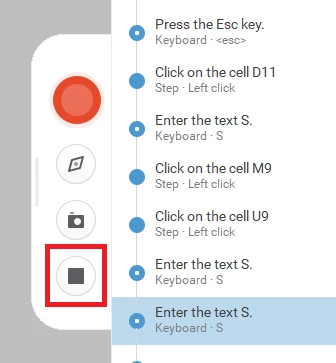
Once the recording pane appears, you can press the stop button to end the recording process.
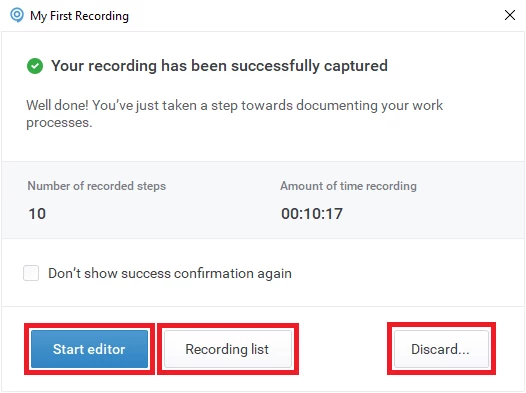
ClickLearn will now display a dialog from where you can immediately start to edit the recording, view a list of your recordings, or discard the recording.
Since we are only covering the basics of recording, we will stop here.
Once we have learned how to create a basic recording, we can start to look at other recording options such as -
- Record next step
- Add new section
- Add a new content block
- Add new screenshot for annotation