


Agenda: Using Publishing Template to customize your portal and recordings
ClickLearn Attain has a brand-new interface for customizing the appearance of your portal and downloadable materials. Unlike ClickLearn Classic that required a .clwx template file that held all template data, ClickLearn Attain uses a WYSIWYG (What You See Is What You Get) environment that allows you to view what your portal will look like as you are customizing it.
The Publishing template design is very advanced and contains a lot of features, but in this article, we are going to focus on the following:
- Adding your corporate logo
- Setting your corporate color
- Setting your Portal font
- Customizing the hotspot in your recordings
- Changing the default voice
- Adding a custom intro and outro screen to your videos
- Setting a custom Word template
- Setting a PowerPoint template
Part 1: Accessing the Publishing Template
The Publishing Template contains everything needed to create your template. To access the features, you will first need to open a new or existing recording. Upon opening it, select Settings and click Publishing Template.
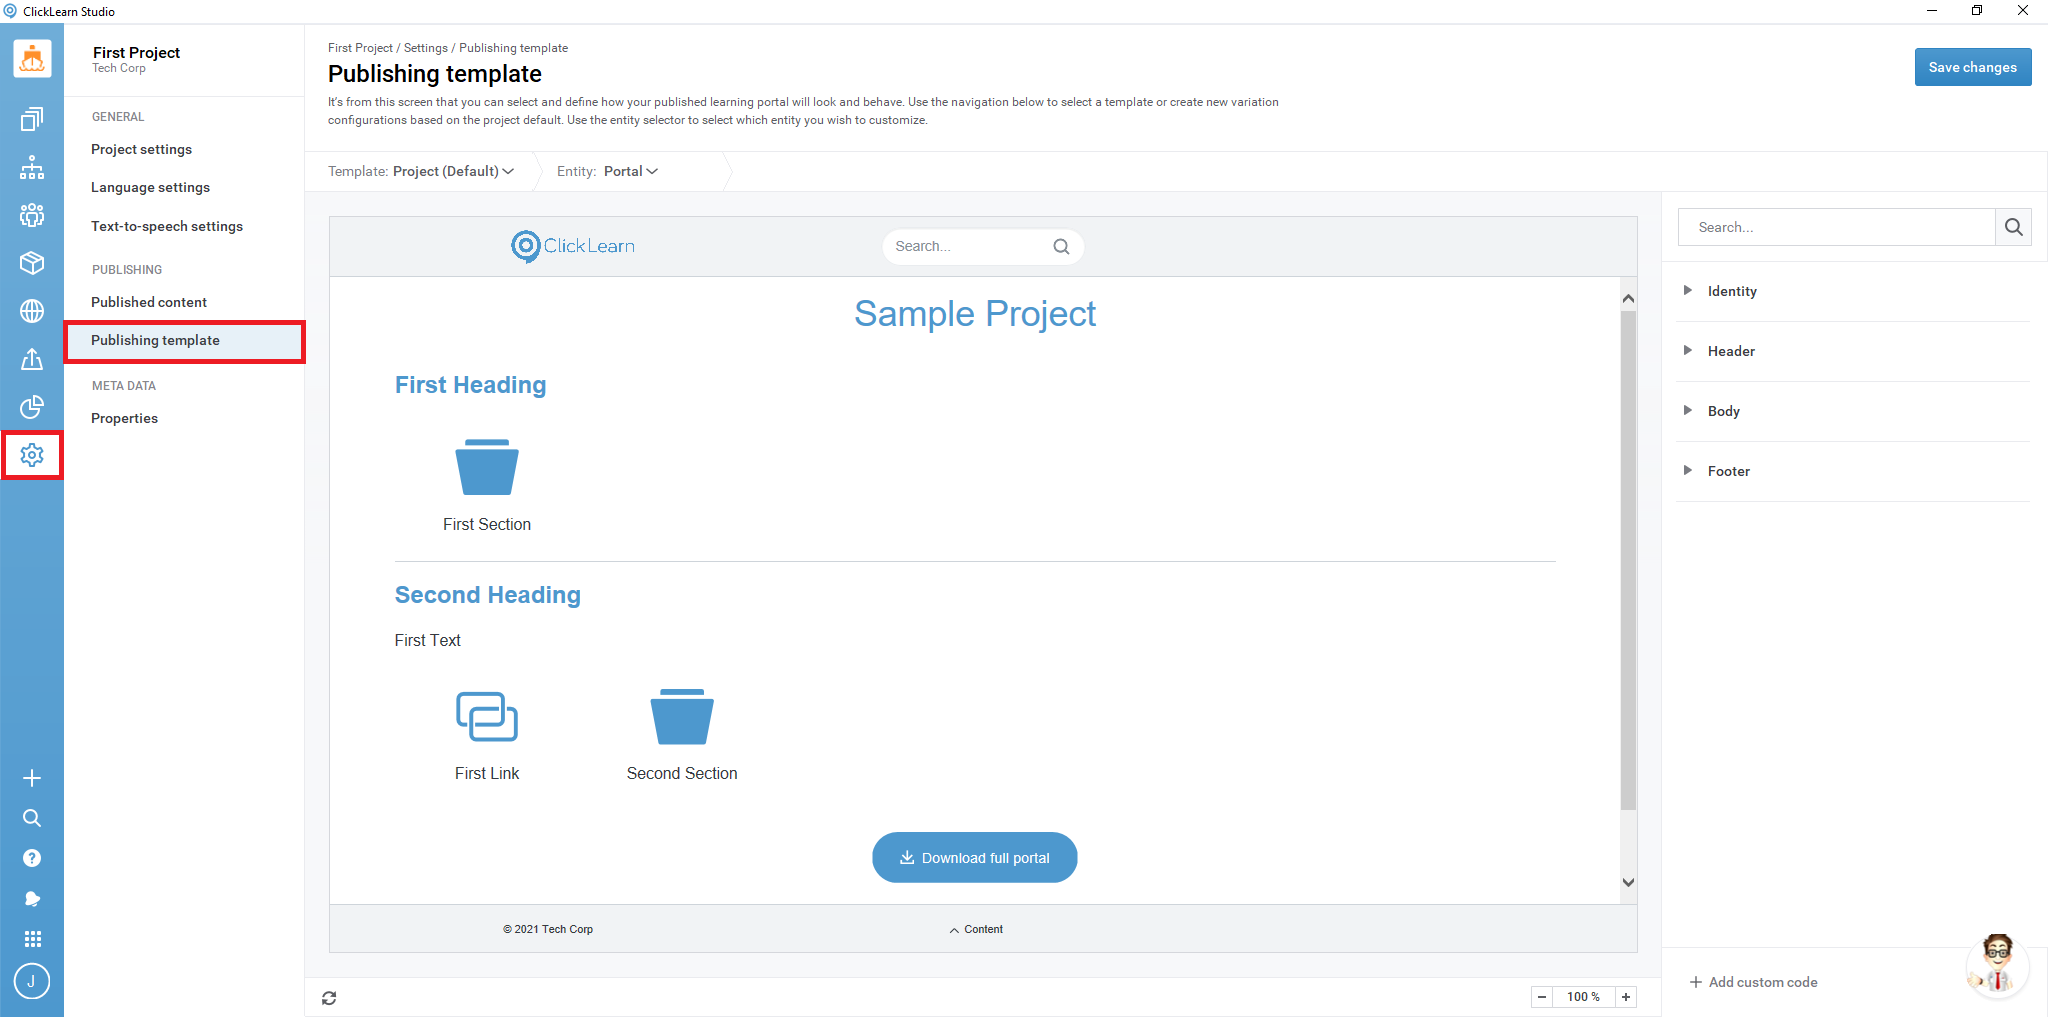
During customization, if you wish to revert a specific area to default, click the undo button.

Part 2: Customizing Your portal
Part 2.1: Adding your corporate logo
Before adding your logo to the portal, we recommend having your logo saved as a .png with its background color set as transparent.
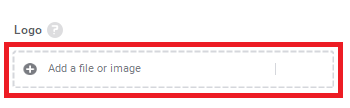
In Publishing Template, expand the Identity menu located on the right side of the window to display options for adding your logo and picking the default colors of icons, headings, and buttons.
For now, we are going to focus on uploading the logo.

Next, click on the Add a file or image button.
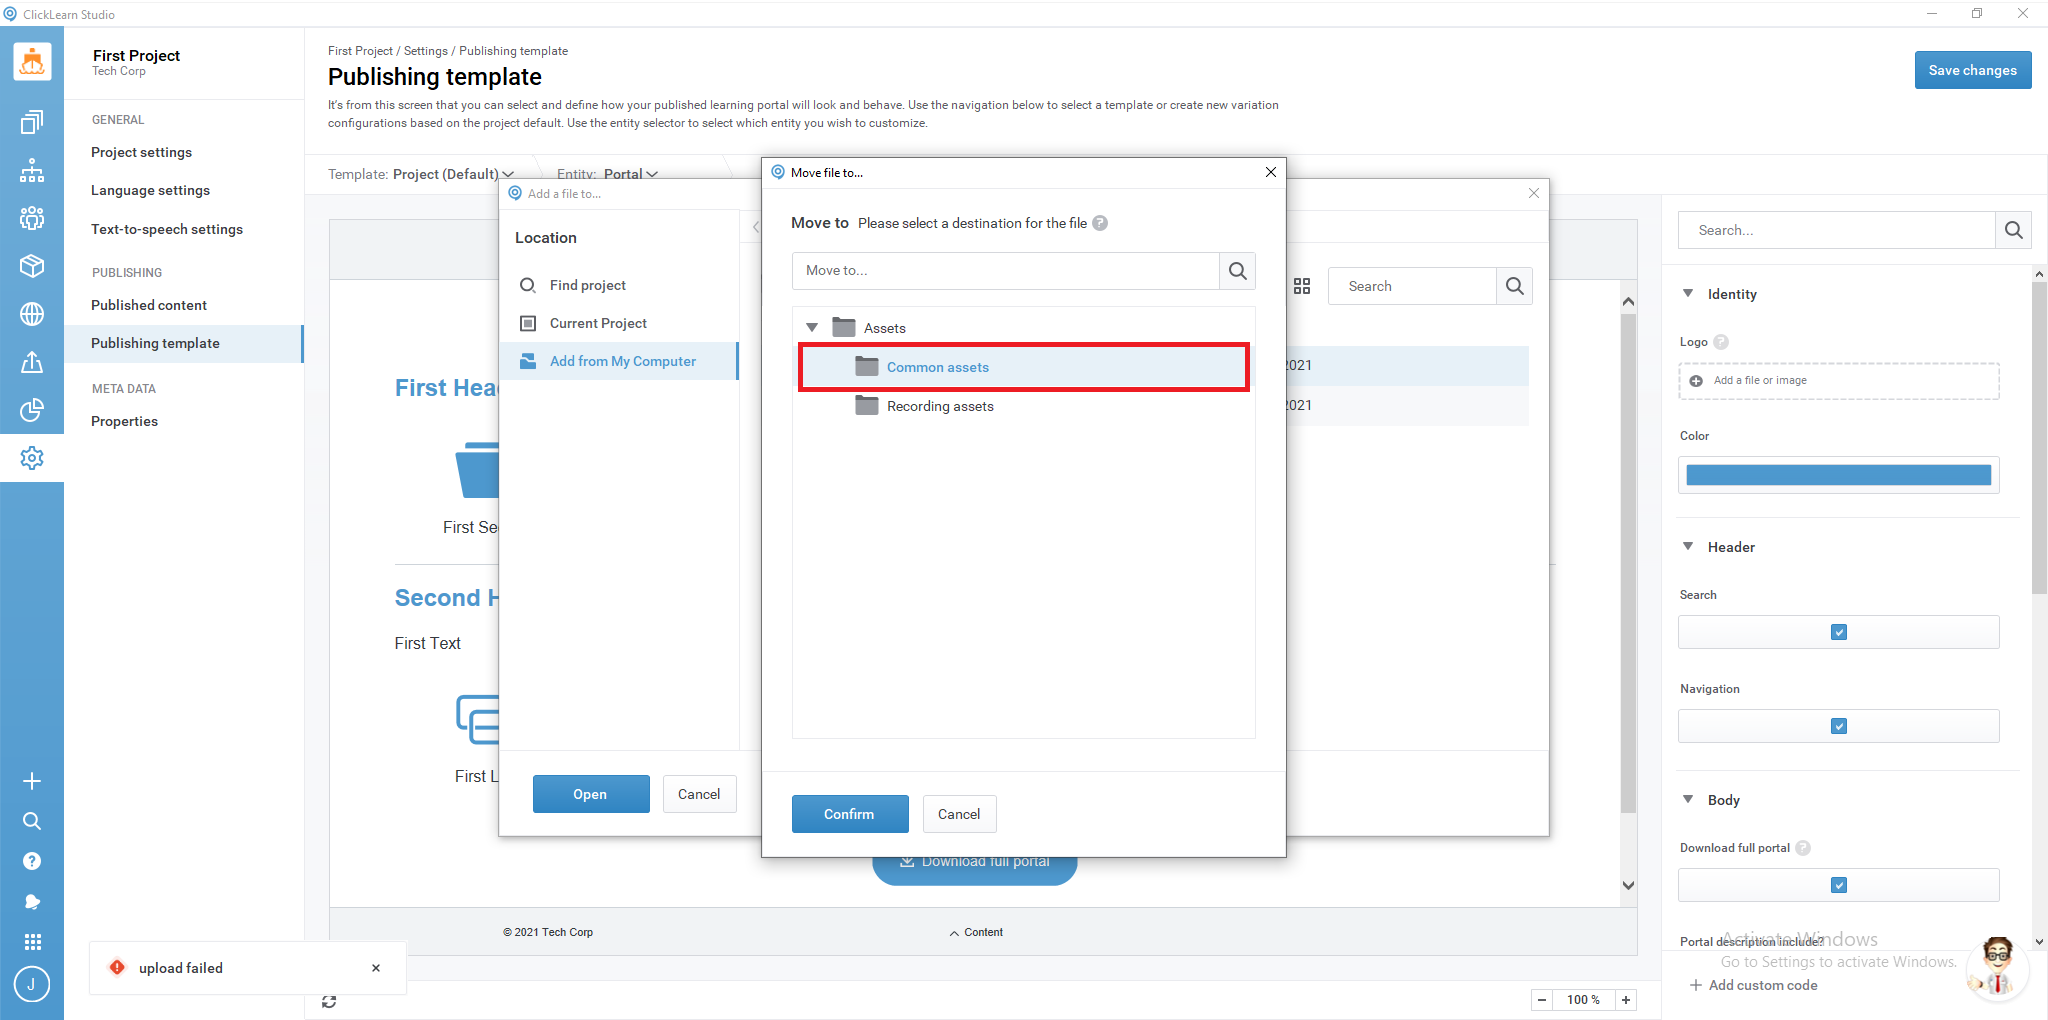
The "Add a file to…" panel provides you with the option to select an image file that has already been added to your project's assets folder. It also allows you to choose an image directly from your computer.
When adding images and other files from your computer to be used in the Portal, ClickLearn recommends using the Common assets folder.
Select Add from My Computer and select your logo in the Windows environment. Next, choose Common assets and click Confirm.
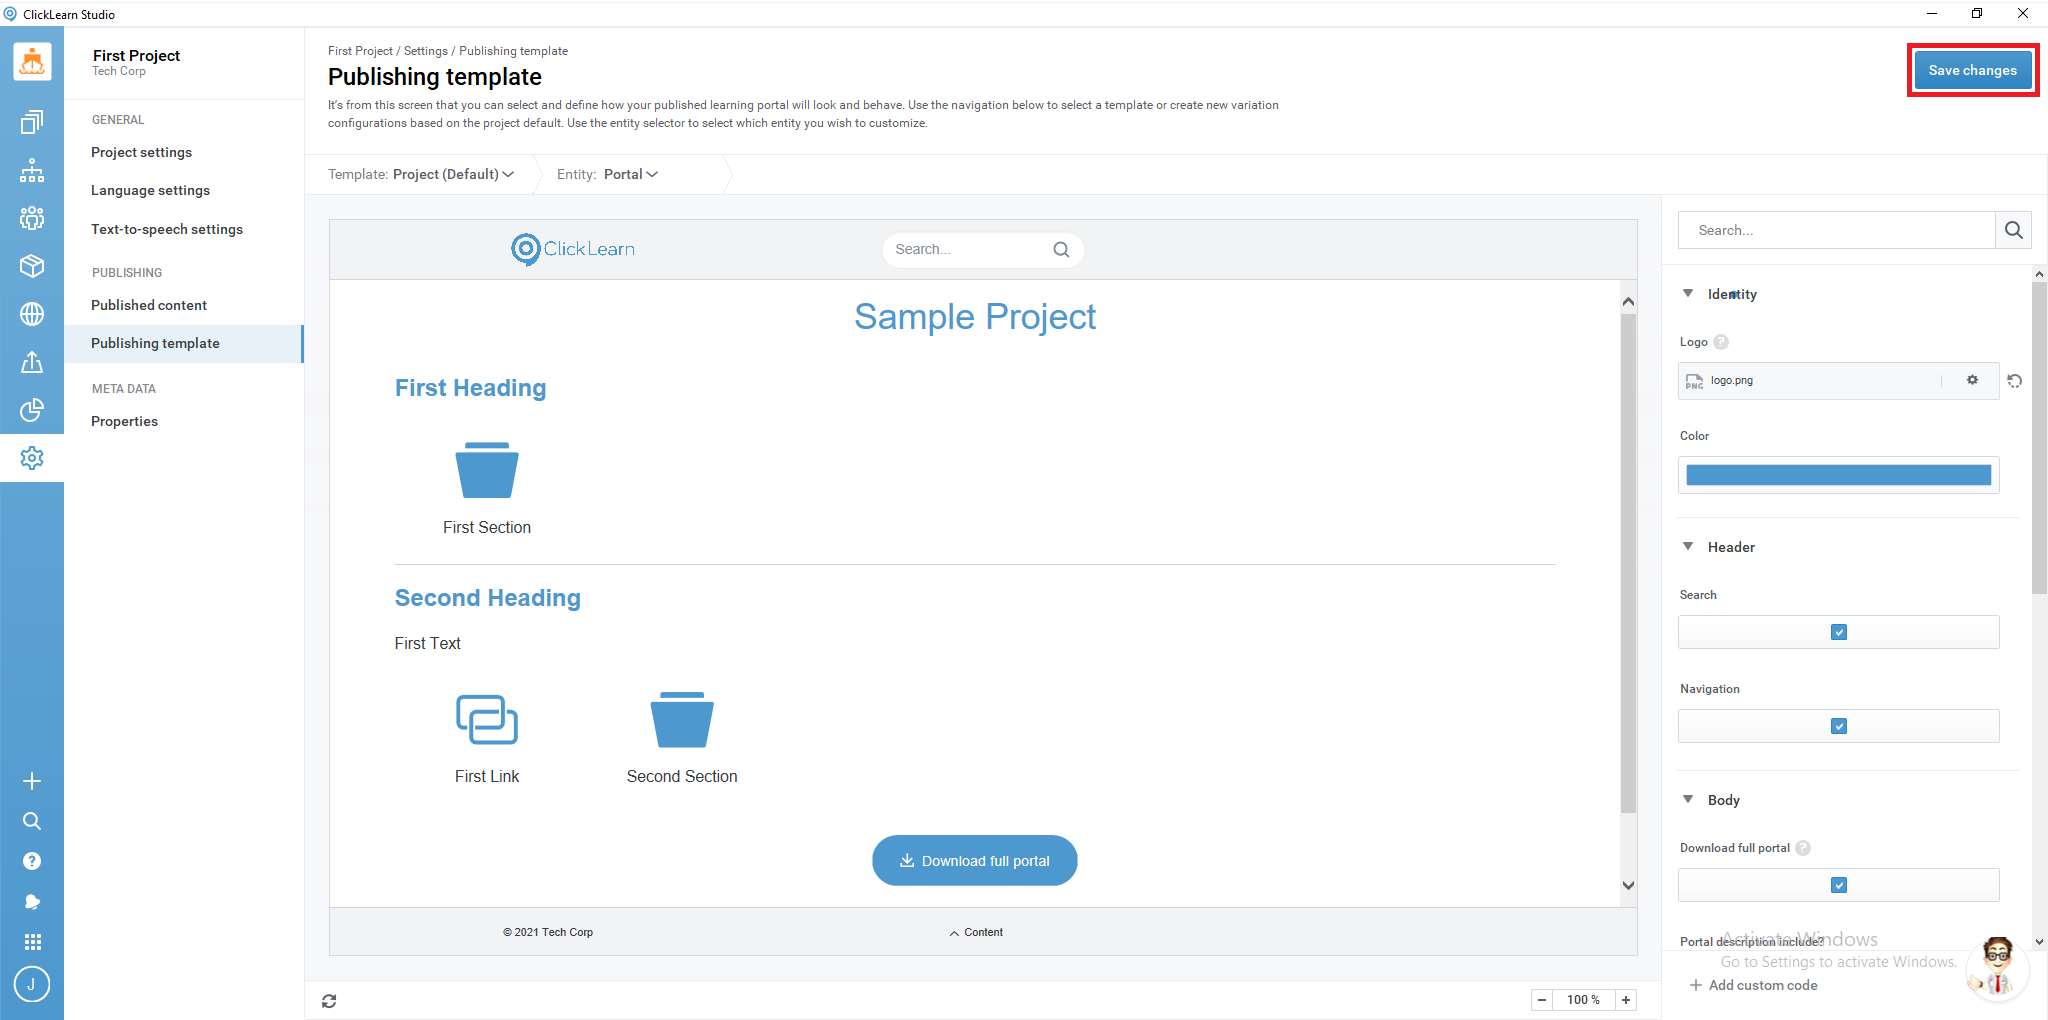
Click Save changes.
Please note that you will need to click Save Changes whenever you want to view a change that has been made.
Part 2.2: Setting your corporate color
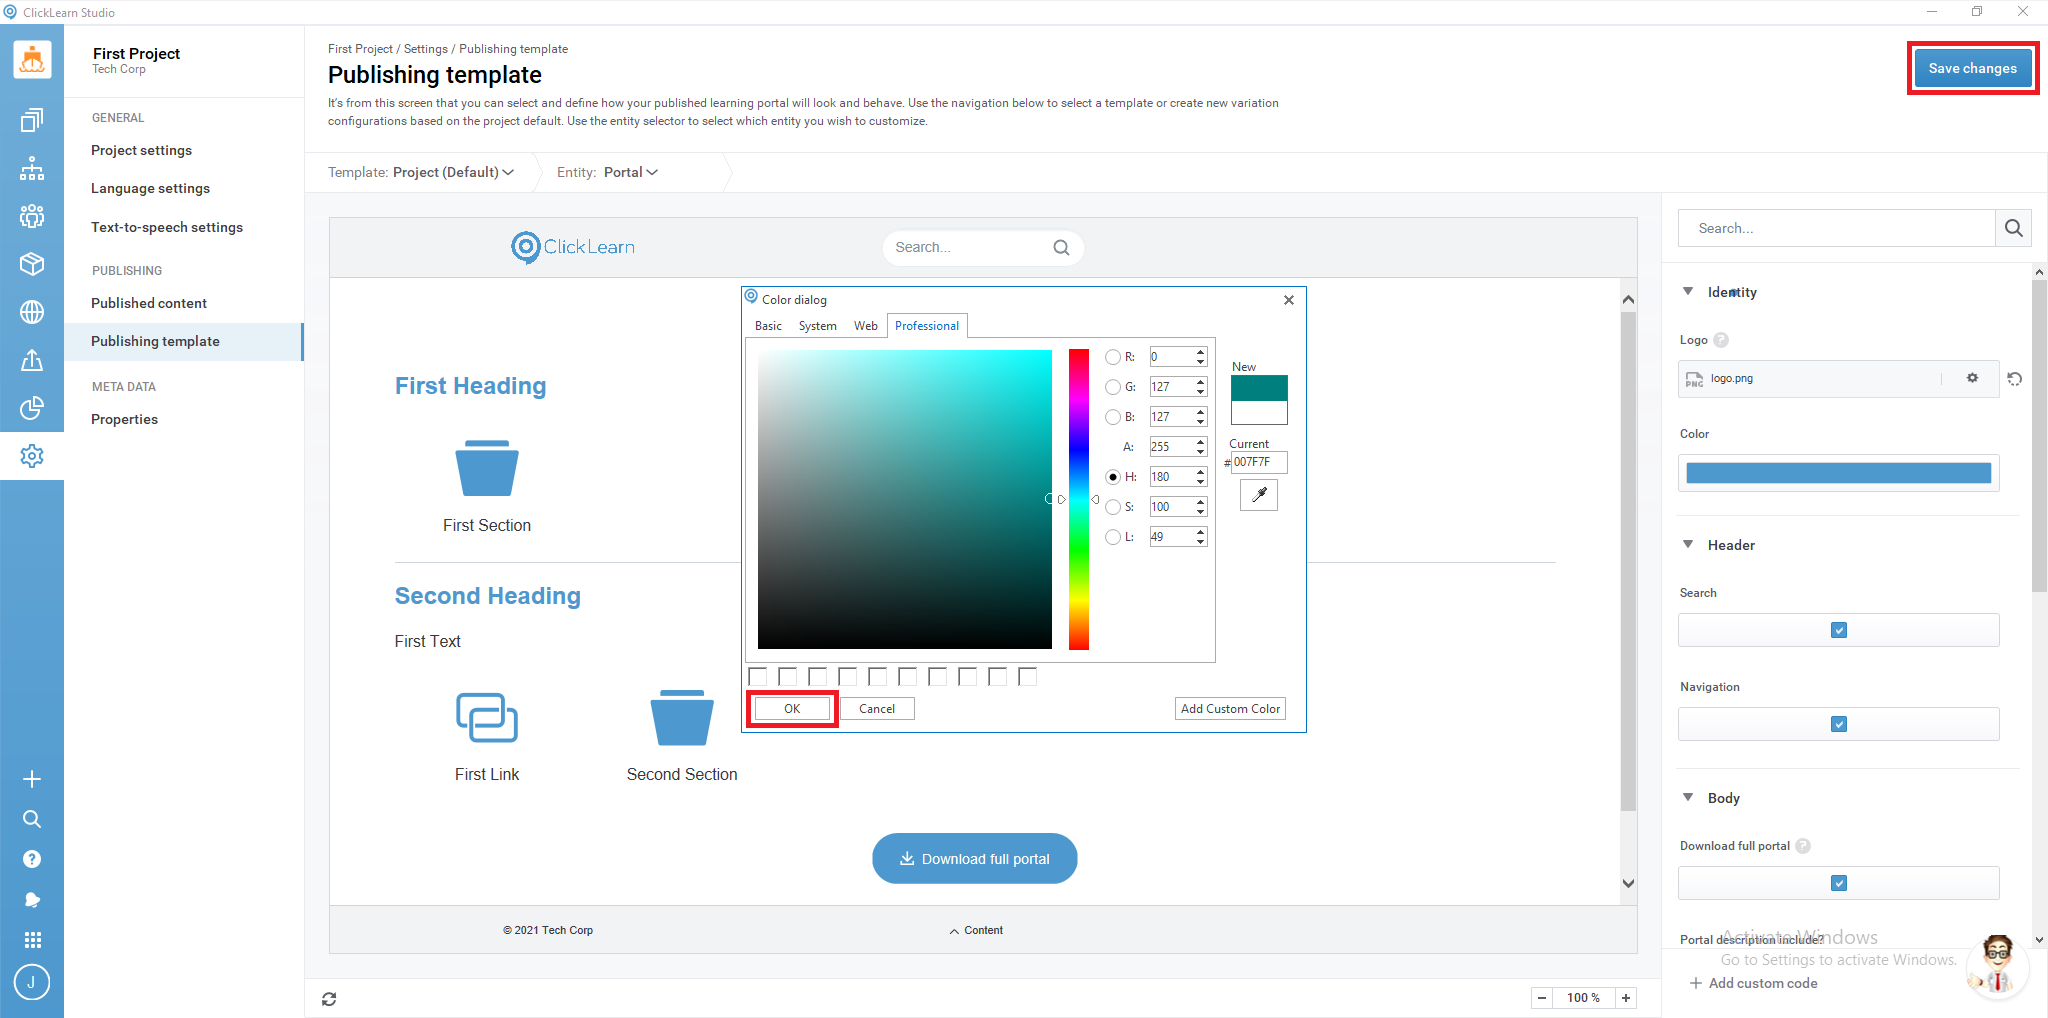
To select the primary color for your portal, simply click on the Color box.
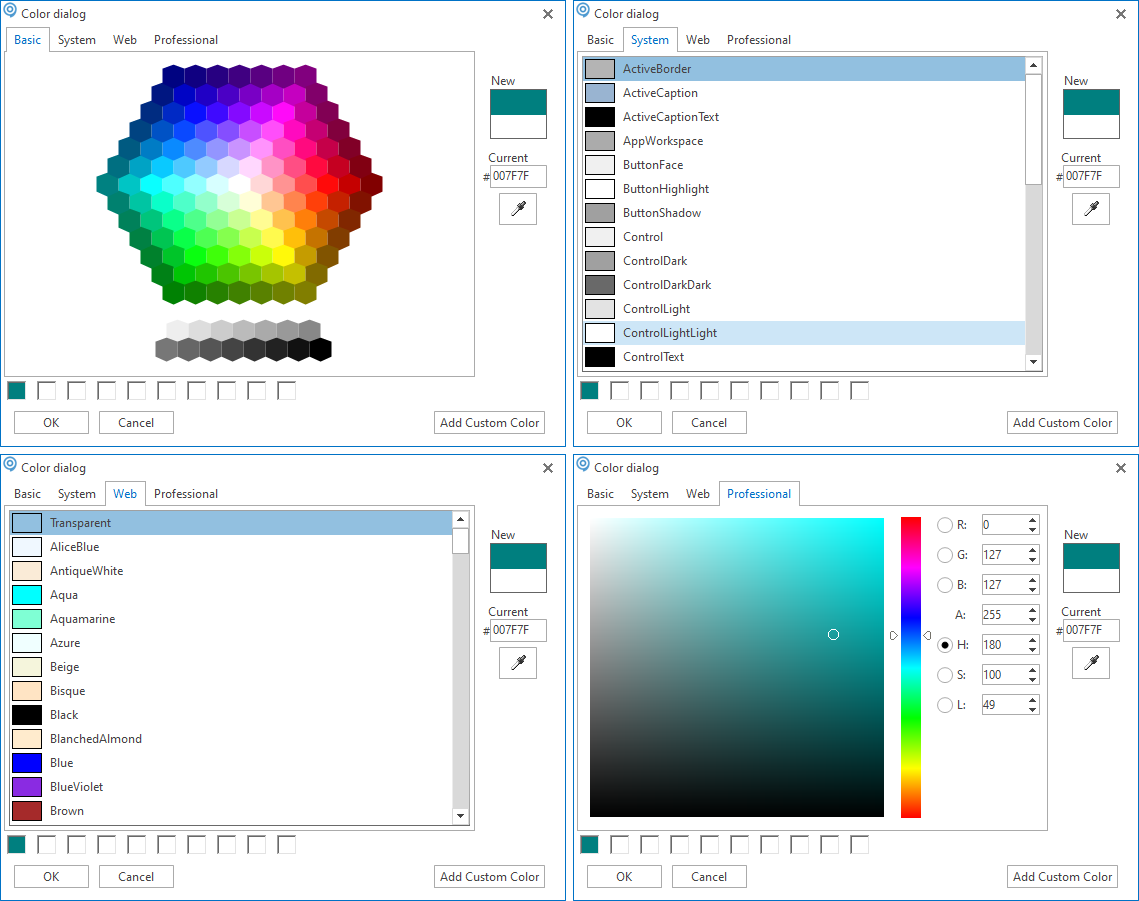
The ClickLearn Color dialog gives you numerous options for picking a color such as RGB, Hex, and an “Eye Dropper” tool to select any color on the screen.
Once your desired color is selected, click OK, followed by Save changes to see it take effect.
Part 2.3: Setting your portal font
To set the font for the Portal, click on Entity and select the Frontpage option.
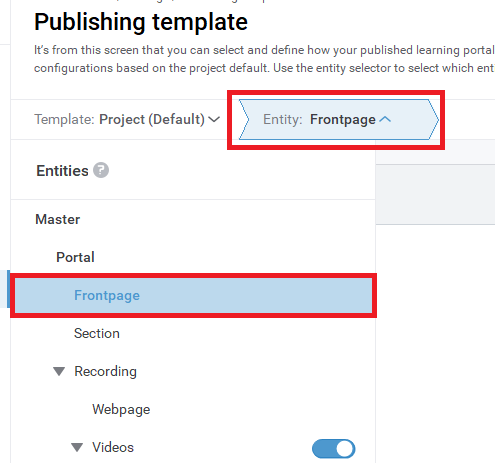
On the right side of the window, expand the Typography menu and select your desired font. Click Save changes.

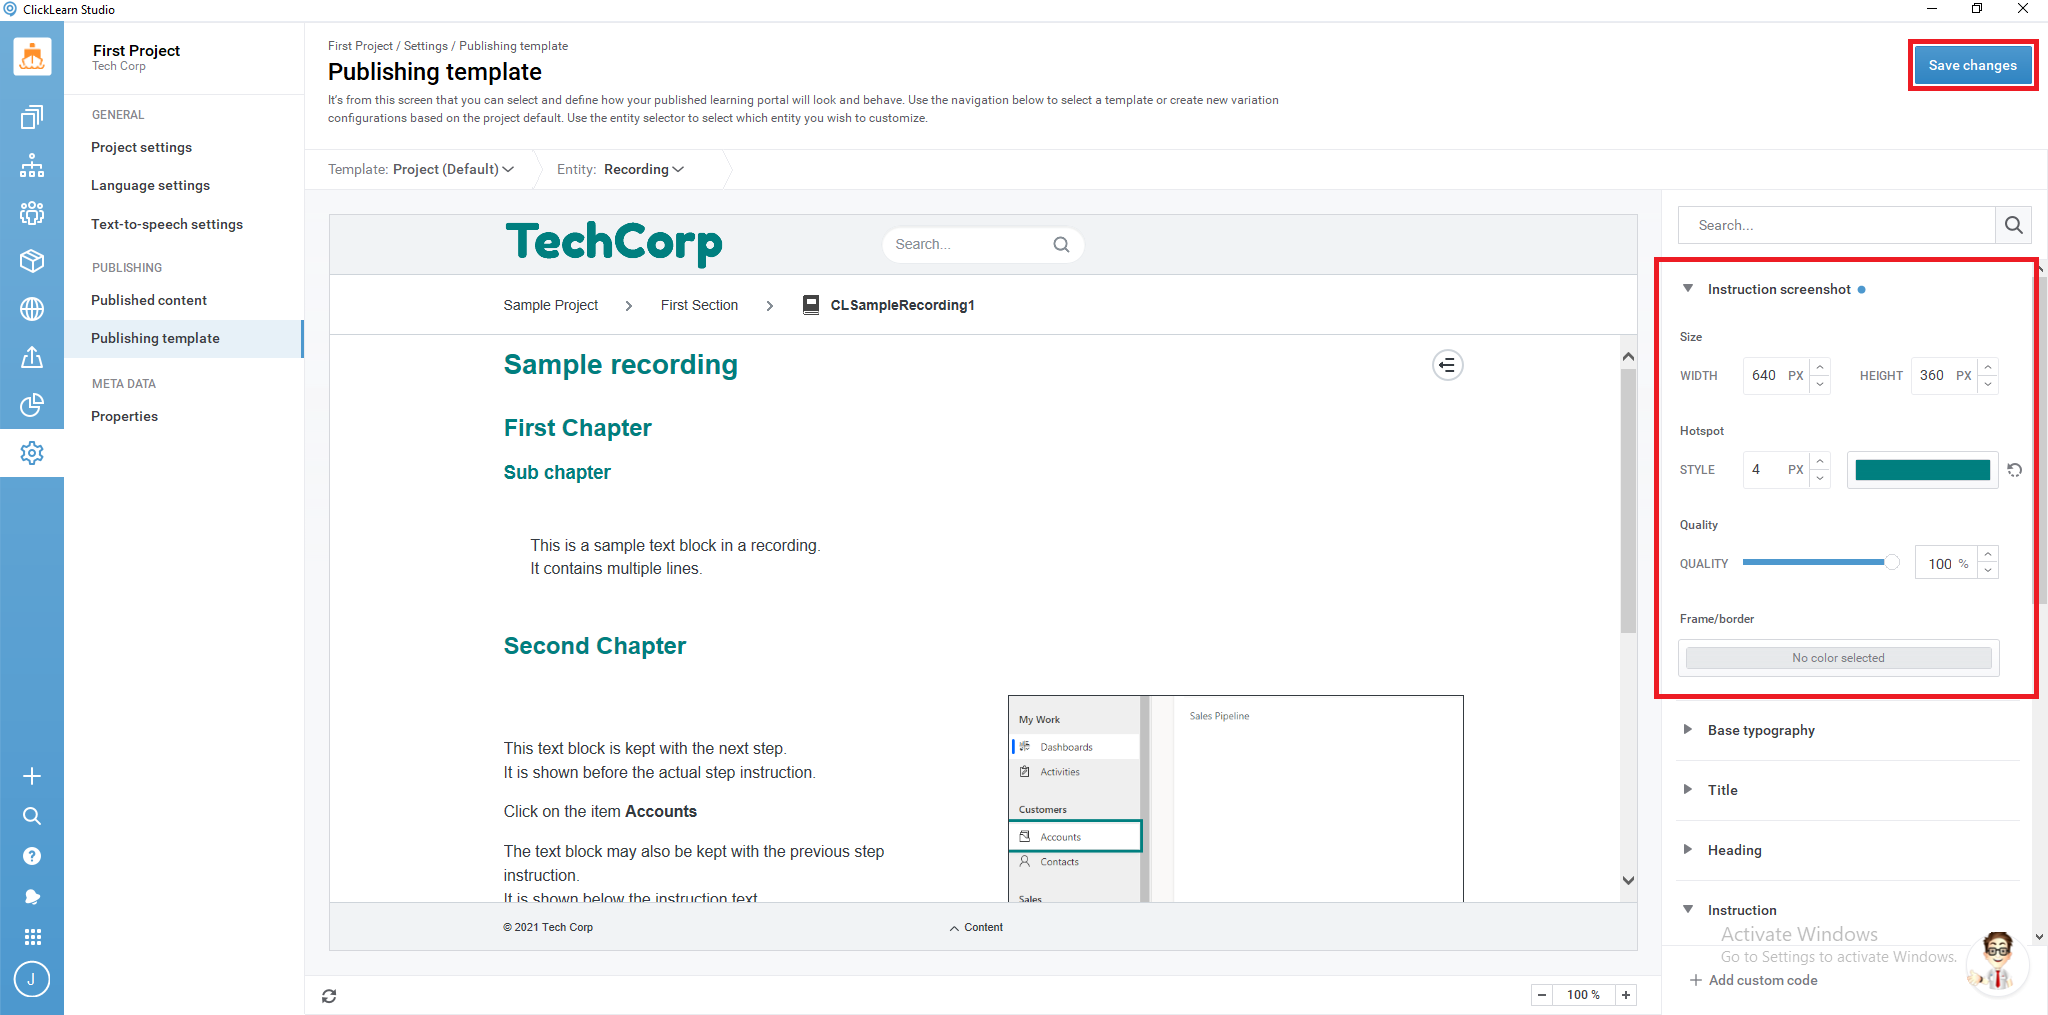
Part 2.4: Customizing the Hotspot in Your Recordings
To change the color of the hotspot, click on the Entity tab and select the Recording option.
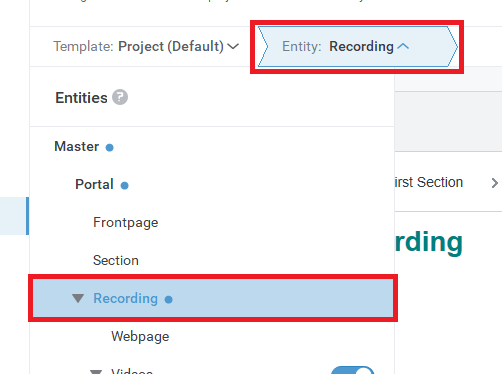
Expand the Instruction screenshot section on the right to reveal customization options.
This section provides you with options for changing the size of the screenshot, the color and thickness of the hotspot, and an option to give the screenshot a colored border. As we are only focusing on changing the color of the hotspot, click the box with the default red to bring up the Color dialog options.
Once you have selected the desired color, click Save changes.
Part 3.1: Changing the default voice
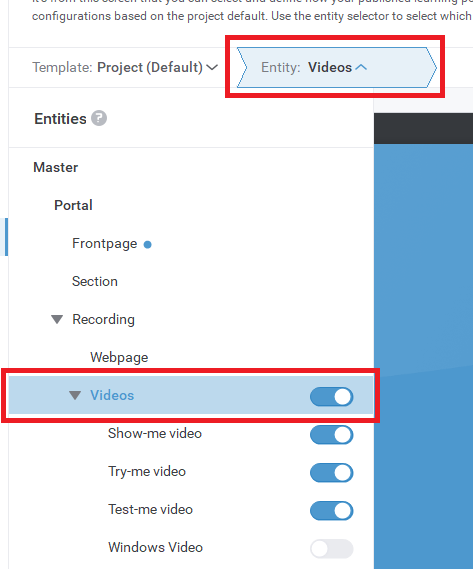
To change the voice used in narration, select Entity, followed by Videos.
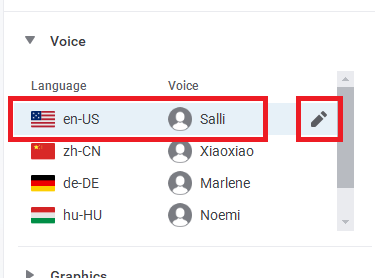
Expand the Voice section that appears on the right side of your window and select a language. Then click the pencil button to set language options.
In this window, you can filter all available voices by selecting gender and dialect. You also have the option of choosing the voice rate. Select the small gray button to sample the voice.
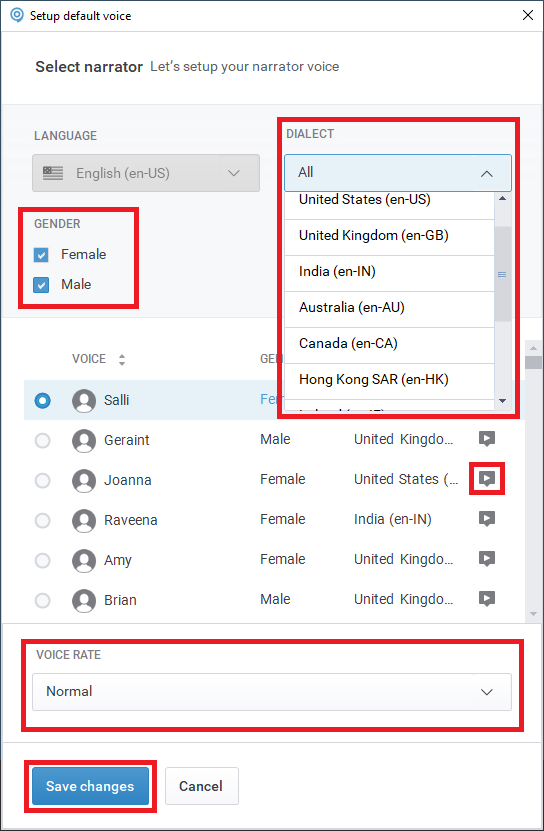
We recommend experimenting with this section to find the right voice for your needs.
Part 3.2: Adding a custom Intro and Outro screen to your videos
ClickLearn has the option of displaying an image or solid color for the first and final frame of your videos.
To set this, go to Entity: Videos, and expand the sections titled Intro screen and Outro screen on the right.
Click Add a file or image and upload your Intro or Outro image files into the Assets directory and click Save changes.

Part 4: Importing your Template into ClickLearn Attain
While you cannot import your ClickLearn Classic Workspace into ClickLearn Attain, you can still use your Word and PowerPoint template files.
Once you have your Word and PowerPoint templates files ready, click on Entity and select the Word option.
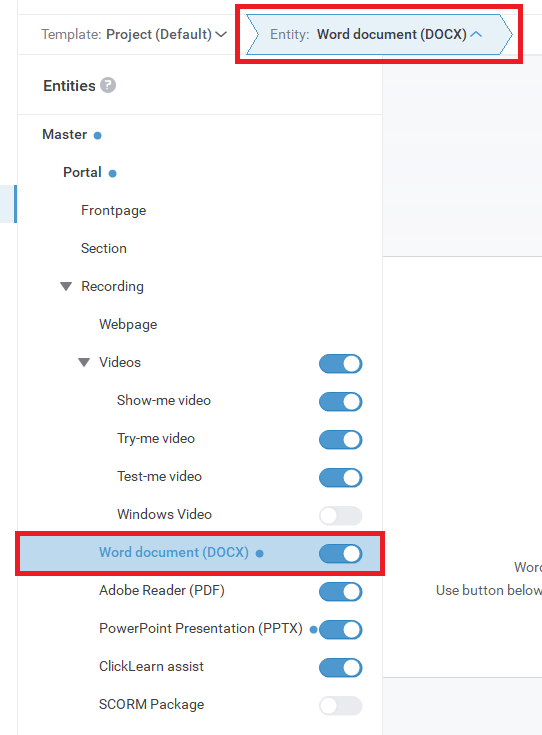
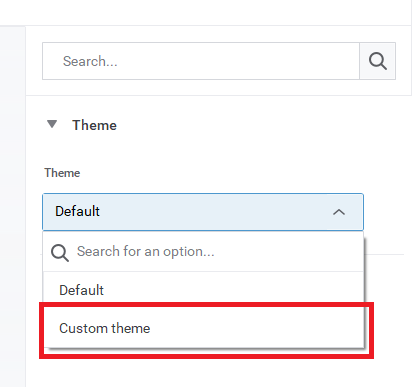
On the right, expand the Theme section, click on the Default drop-down and select the Custom theme option, allowing you to add a custom theme.
The Theme section will now give you the option to add your existing Word (DOCX) template file. Click the Add your template file button and follow the familiar windows to add the template. Once added, click Save changes.
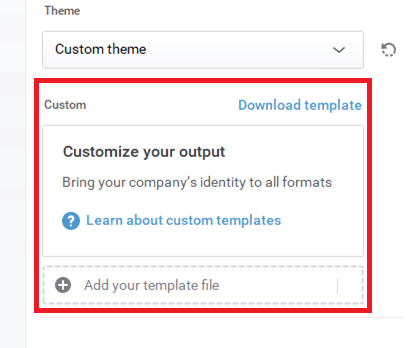
If you are new to ClickLearn and do not previously have a word template but wish to create one yourself, you can click on the blue Download template text to download the default ClickLearn Word template onto your computer. From here, you can open it and customize it with a logo, design elements, and even other options such as metadata. We cover this in more detail in this Morten’s Corner video.
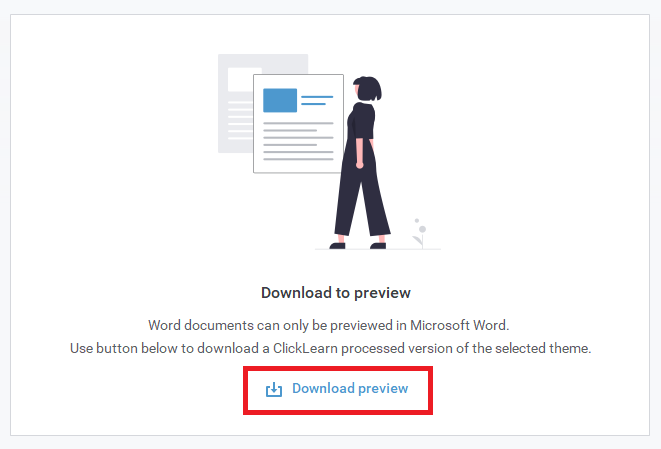
ClickLearn Attain will then present you with the option to download a preview of your newly uploaded template. The document will open in MS Word.
Importing your PowerPoint template into ClickLearn follows the same process as importing the word template.
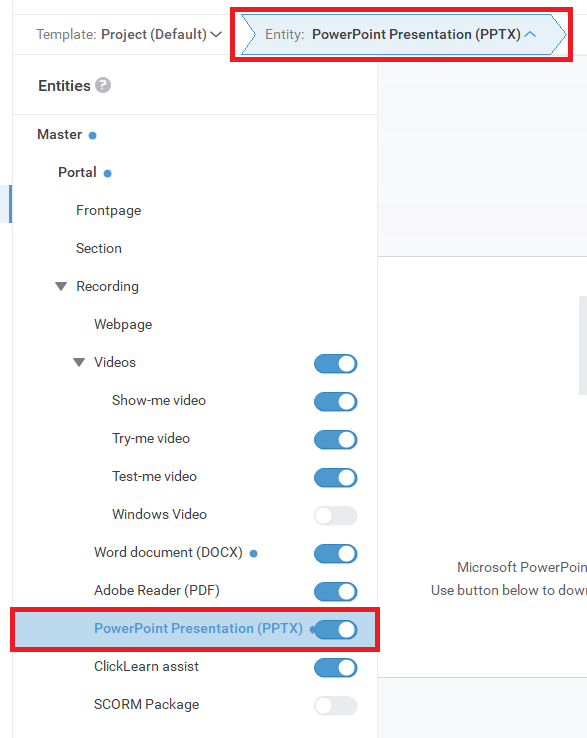
Select the Entity tab and click PowerPoint Presentation (PPTX)
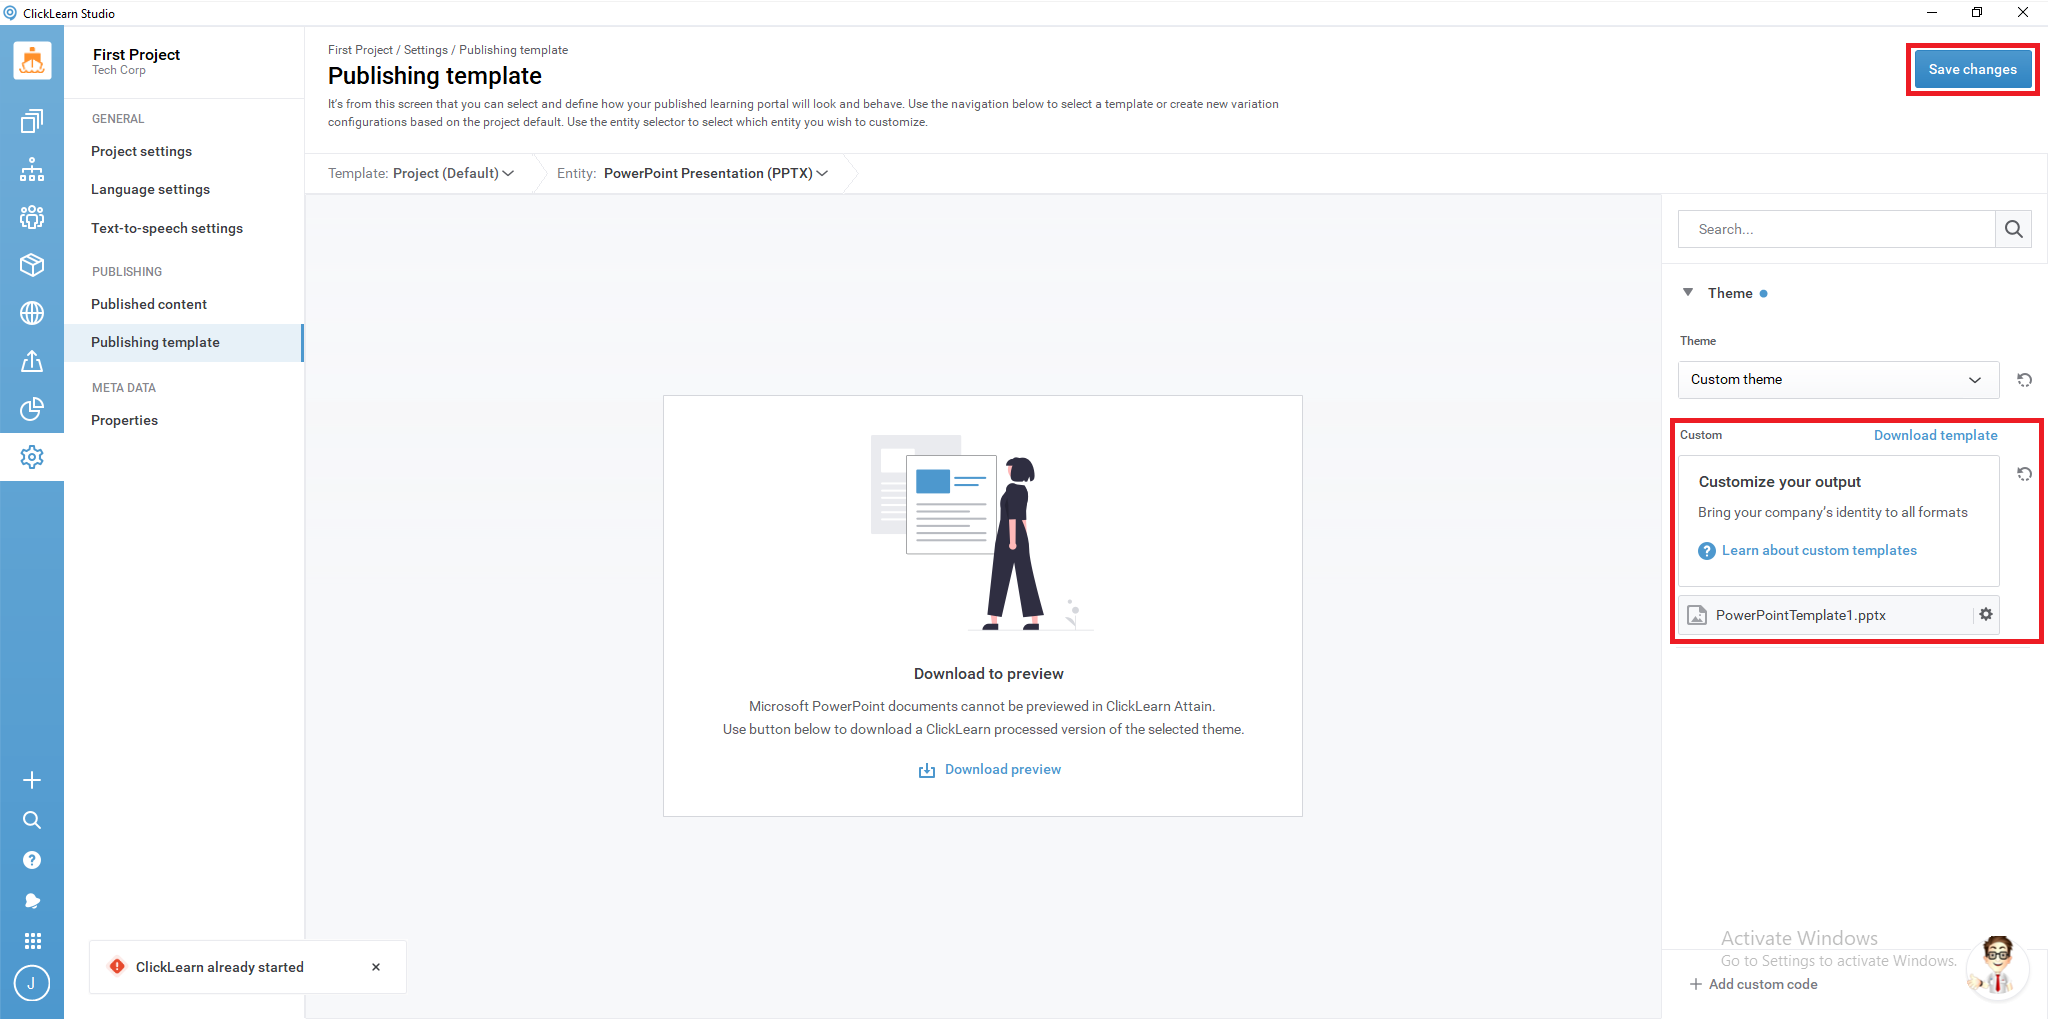
Once again, expand the Theme section and click the drop-down menu to select the Custom theme. Click on Custom theme, followed by Add your template file, and proceed to select your PowerPoint template file.
Save changes to complete the process.
This completes our Template creation tutorial.
The Publishing Template section contains many other options. We encourage everyone to experiment with the features in more detail to create a unique portal.
For a video of some of the features discussed in this article, please visit this Morten’s Corner video.